BackupFriend – Self-hosted backup to your RaspberryPi with a history and UI! July 19, 2021
Posted by GuySoft in open source, programming, python, wxpython.Tags: backupfriend, howto, open source, programming, python, self-hosted
trackback
Atribution: Icon by: Freepik
Hey all,
I am releasing today something I’ve been working on the past year. It stared with a friend that had a requirement to do off-site backups of his work for his insurance, but BackupFriend has became a full blown backup solution.
The idea is you get a RaspberryPi and plug a harddrive to it, put it at your friends, family or just in your house and backup up to it using a desktop client that should have the feel like Dropbox/Google Drive/etc. You also get history! The RaspberryPi can also be changed to a remote server (instructions here). This guide focuses on self-hosted instructions, because I think its strange all backup solutions out there require you to pay rent for your own data.
Using a 4TB drive for under $100 and a Pi, you can get much more storage which is not ephemeral.
The desktop client has been tested on both Linux, MacOS and Windows.
Also, many thanks to Pull Request Community that featured BackupFriend as a project to work on, that helped get a few PRs on-board.
What you will need
- A Raspberry Pi, preferably 4B because of the USB3
- Note: Raspsberrypi can be replaced with a server (instructions here).
- A home network with a computer running Linux, MacOS or Windows, which you will be backing up from
- An external hard drive that can connect to the Pi (I use a 4TB WD My Passport drive, you can also just use a thumb drive for testing).
How to install on a Pi
- Download and the BackupFriend image (source code so you can see what’s under the hood)
- Unzip the image and install it to an SD card like any other Raspberry Pi image
- Configure your WiFi by editing
backupfriendpi-wpa-supplicant.txtat the root of the flashed card when using it like a flash drive (You can also just plug the device to an Ethernet port on your router). - Attach the external drive and power up.
- Hostname is
backupfriend(notraspberrypias usual), username:piand inital password is:raspberry - After a few minutes you should be able to access http://backupfriend/ or http://backupfriend.local.
- Default password for the Web UI is
adminpasswordadmin123.
You should see a login screen like this:
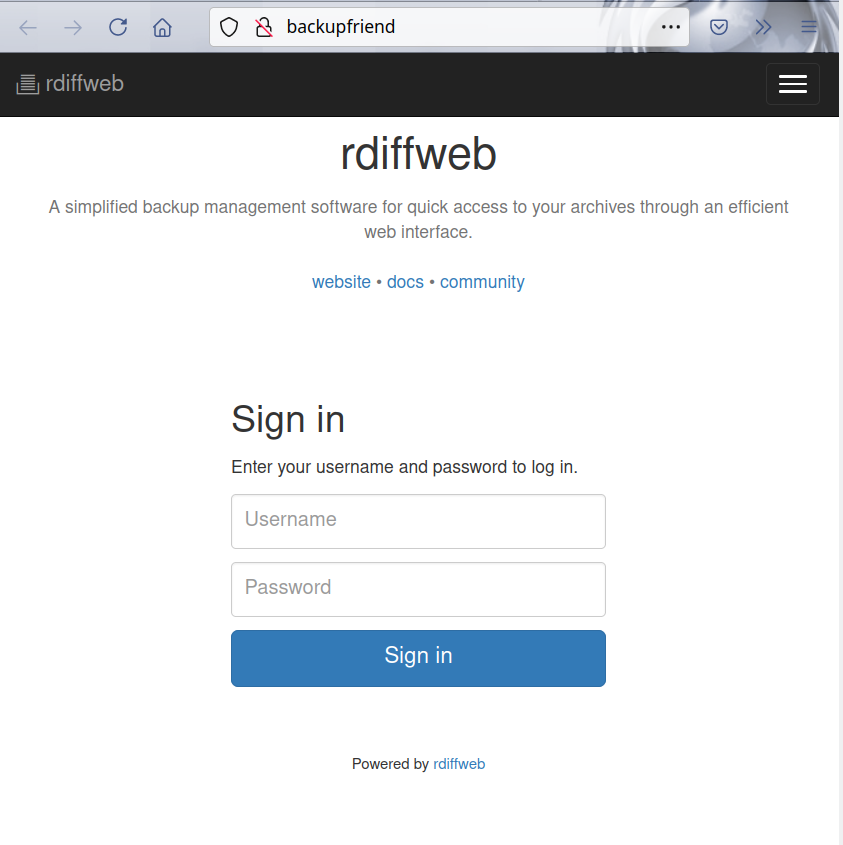
At this point you have the backup server running. Excellent!
The backup server is now sitting on your local network. If you want to have it backing up on a remote location, you will need to open the router port to it, and set the domain name on the nginx-proxy container there. More info on that here.
How to set up the Desktop Client
Now that we have a server on the Pi, let’s backup to it form the local host.
Linux
sudo python3 -m pip install backupfriendWindows
- Download .zip for windows run the executable backupfriend-client.exe.
- If you want to make it start on boot follow this guide.
Mac
- Download the .zip for mac and open it to extract the .app
- Copy it to our applications folder.
- If you want to make it start on boot follow this guide (guide would not work if the .app is not in the applications folder).
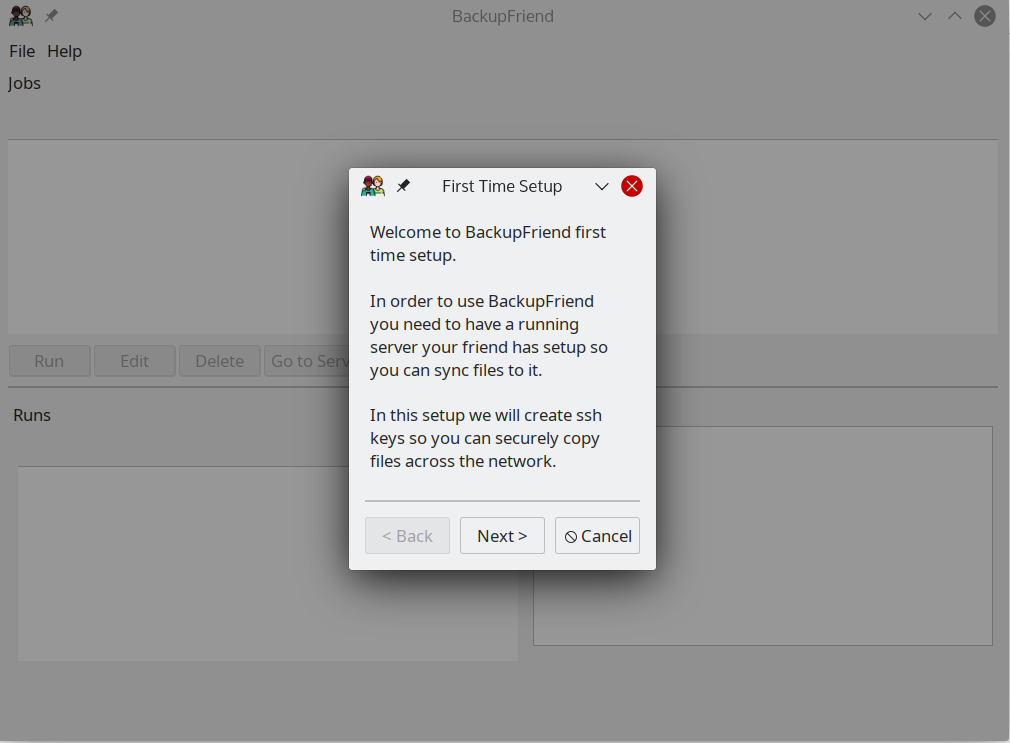
First Time Run
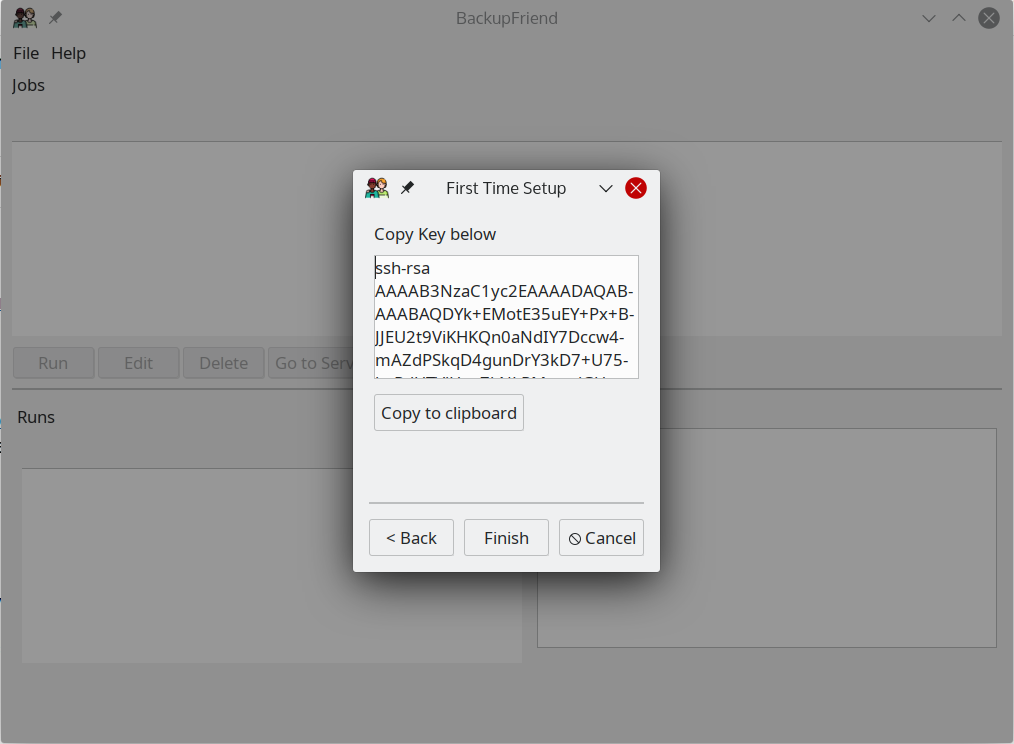
On the first run you will be asked to follow a wizard and create your connection keys. Those let you backup sequentially to the server. Just follow the guide and copy the public key:
Server setup
Now that we have a key, let’missing apostrophes place it in the server.
Log in to your backup server using the default
user: admin
password: admin123
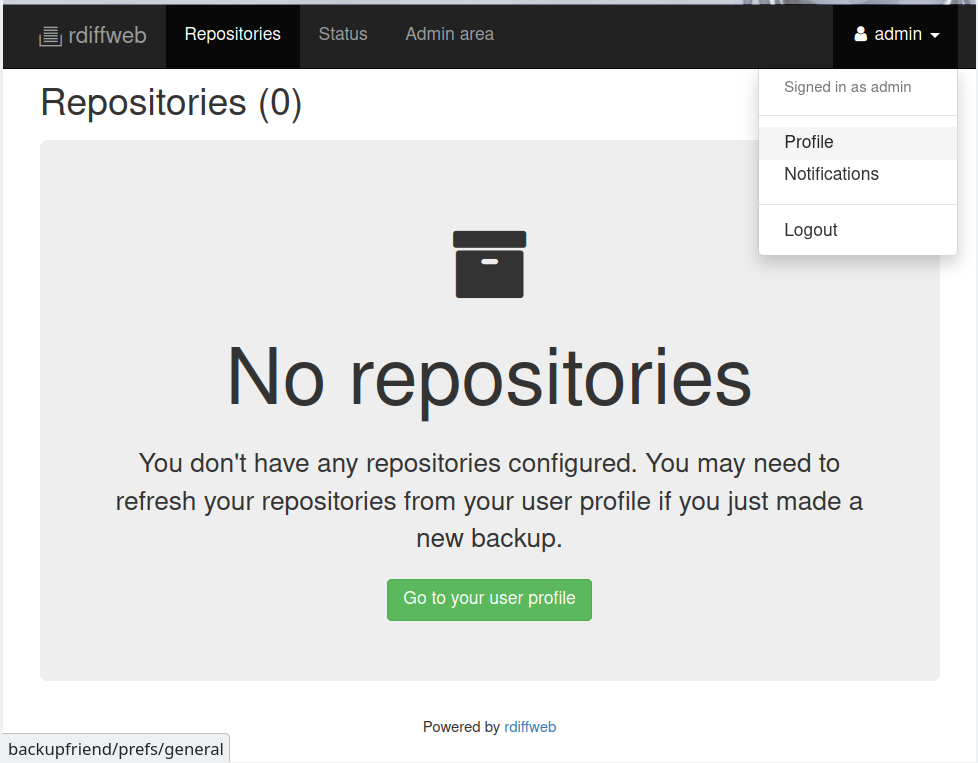
You should get this view as shown below
Go to admin on the top right and select “Profile”
We need to set up the sync folder and SSH key.
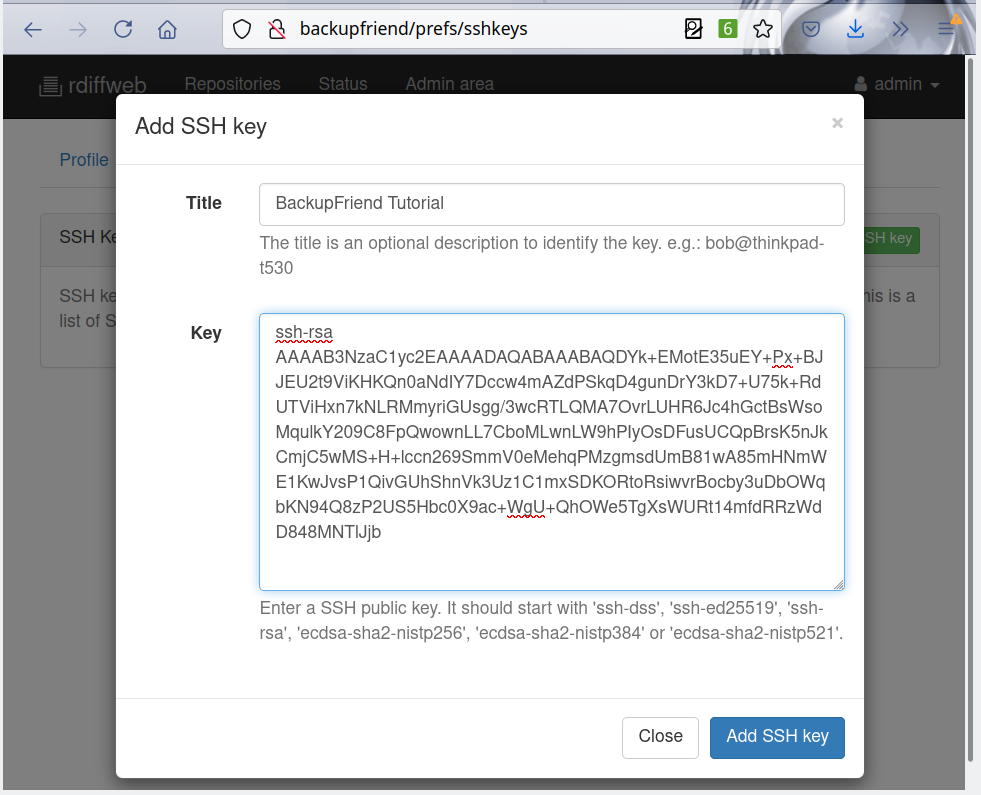
In the SSH key page press “add new SSH key” and paste the public SSH key you got from the BackupFriend Client:
Now there is one more step to do before we can start backing up – setting the root folder for the user.
Click on “Admin area” and then on the “Users: 1” button as shown below:

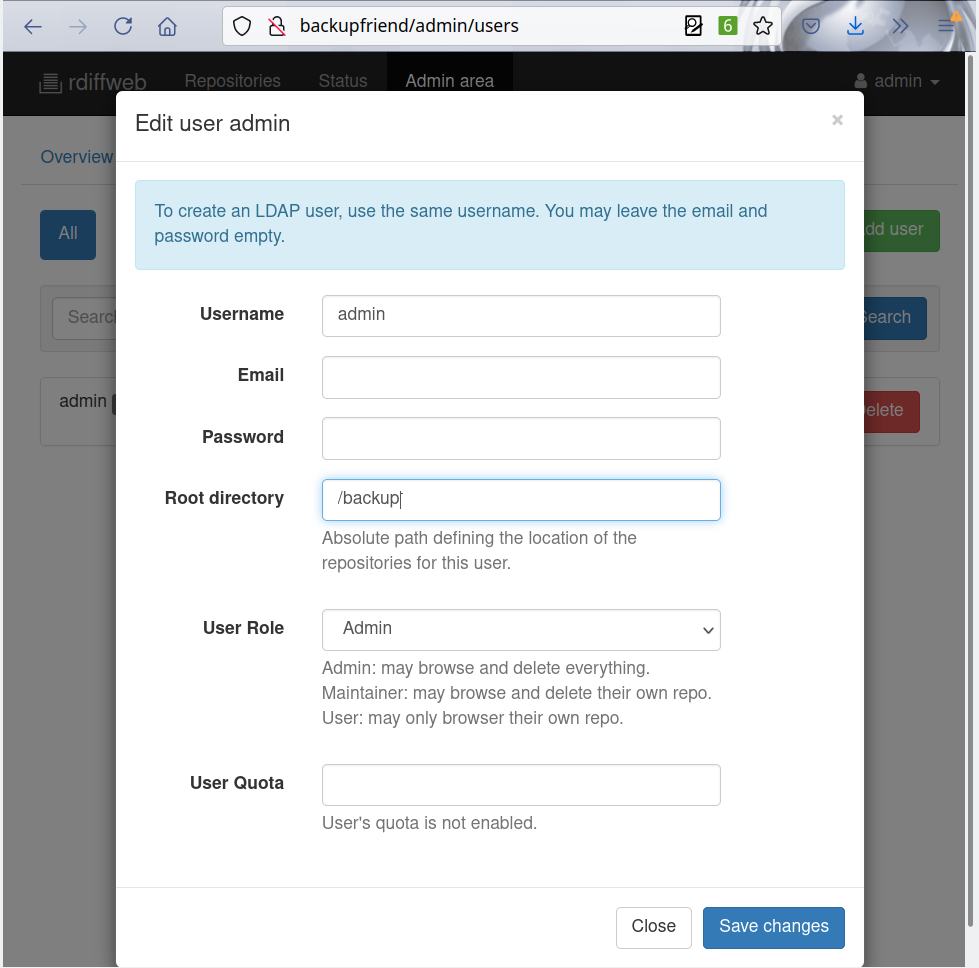
Select the only admin user in the list and click on the “edit” button. You should see the following edit page.
Here you need to add the “Root directory” to be “/backup”. This means that anything in the “/backup” folder on the Pi would be visible in the web interface.
Once the changes are saved you will see the amount of free space on the main window:

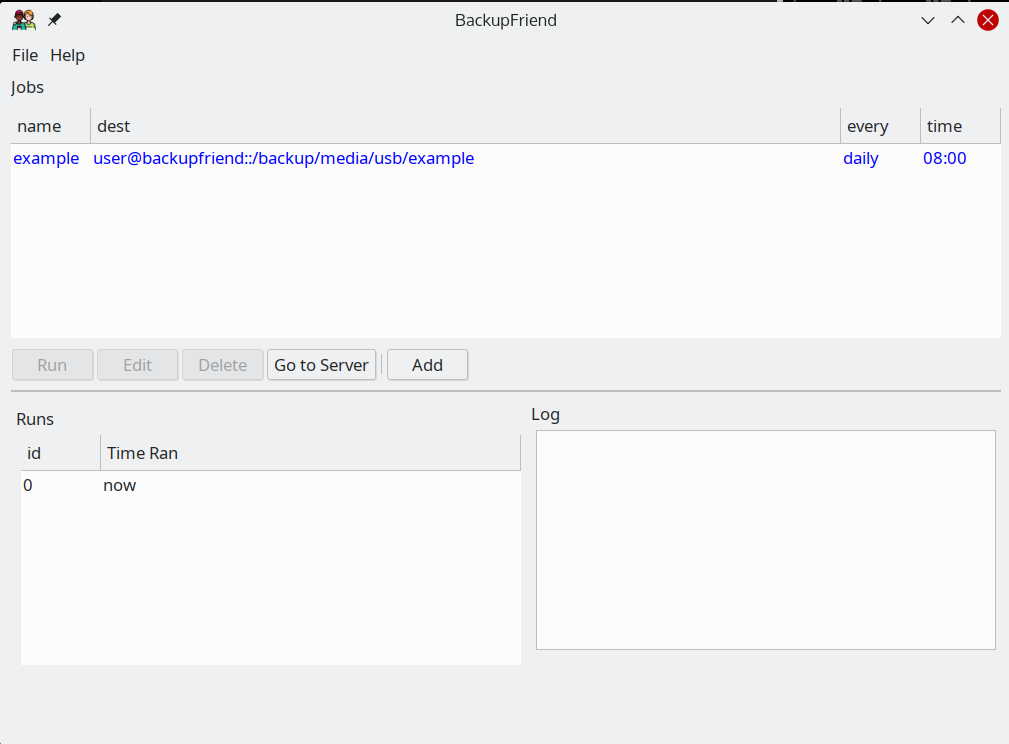
Now we can finally sync. The first install comes with an example sync. It just syncs your temp folder. Click the “edit” and then you can confirm that it all works using the “test” button. You should get “connection succeeded”.
Note: Sometimes you might see first “warning: server added to authorized servers”. Just press “Test” again, its the SSH system setting that server as an authorized one.
When the job is running it will turn blue, when it’s finished it will turn green:
Once it’s done, or in the middle, you can access the backup on the web interface.
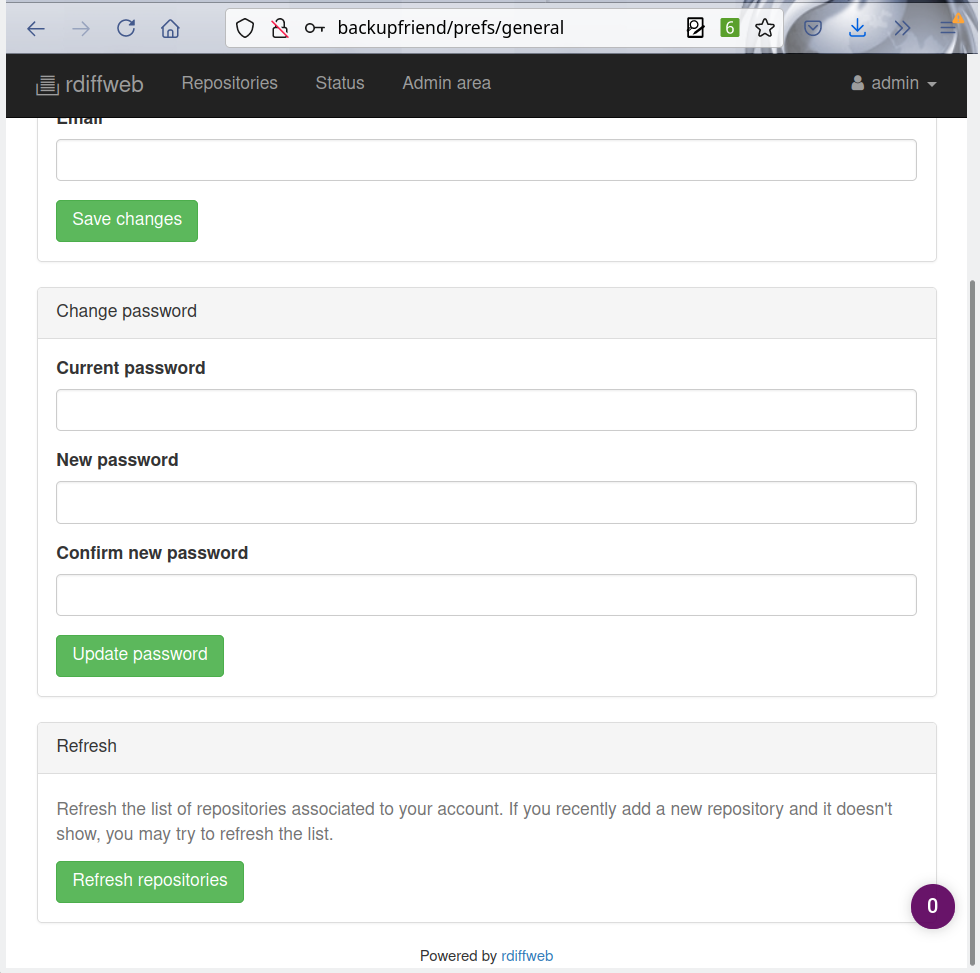
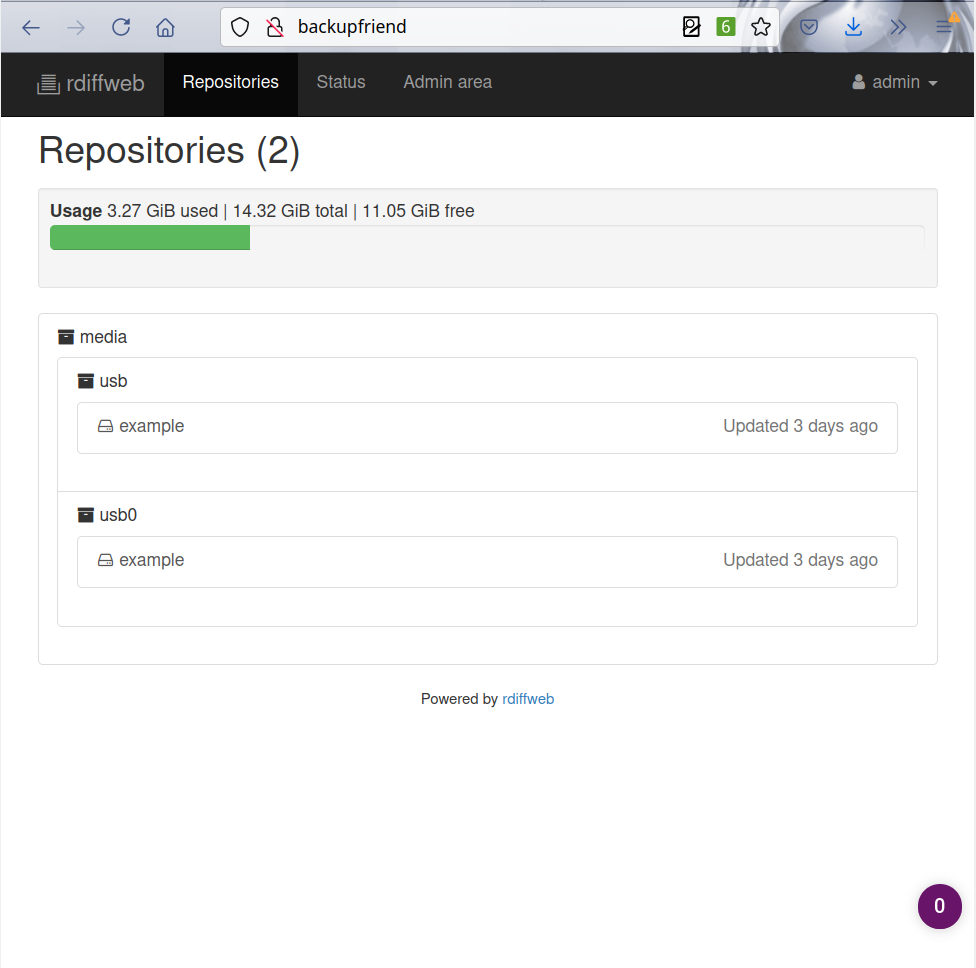
To do so you might need on the first time to refresh the repositories to it will be shown. To do that go to the “profile” and press “refresh repositories”:
Finally, you can see now the repositories and the files with their versions:
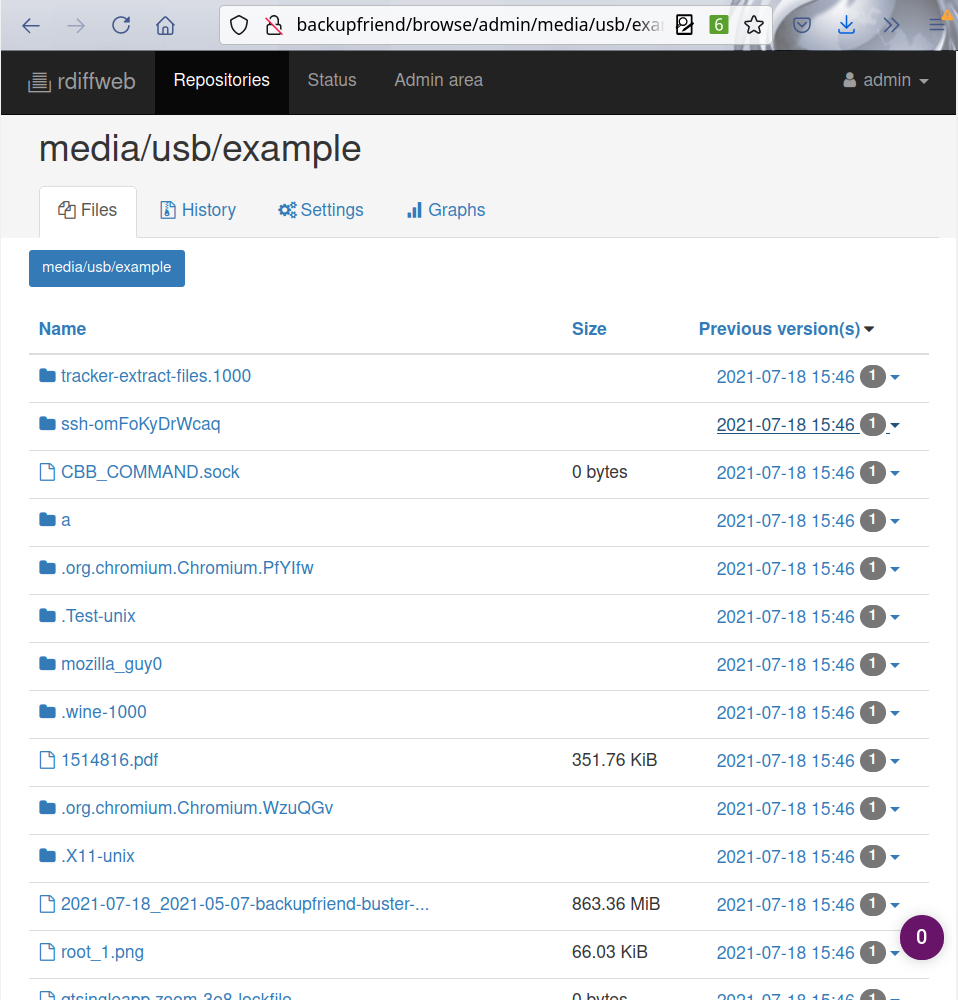
That’s it, you should have now a backup server on a Pi that you can also move elsewhere.
Development – Source Code Repos
There are quite a few parts for the project, here are the repos for them:
- BackupFriend Client – wxpython mostly)
- BackupFriend-docker – server-side Docker builder)
- BackupfriendPi – The RaspsberryPi image builder
- Rdiffweb fork – The web interface fork that runs on BackupFriend
This is just version 0.1.0 and there is a lot to improve. Since I am only one person I would greatly appreciate PRs and help getting this to be a full blown solution.

Cool! I can use rclone for backup but another users maybe want gui.
rclone does not support history such as rdiff-backup, which is what BackupFriend currently uses. You could also use the rdiff-backup commandline.