Back in 2018 – I made my first electric violin, and an FX system (repost from violinmakers) June 26, 2023
Posted by GuySoft in open source, violin.trackback
Hey all,
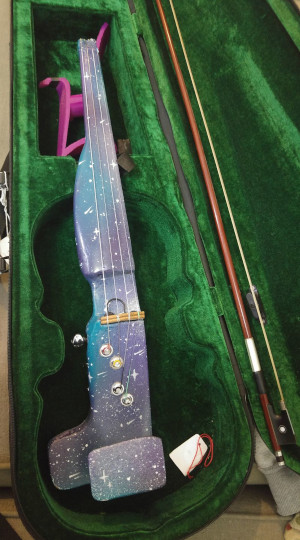
Back in 2018 I wrote a blog post about the electric violin that I built. Life got crazy and it got stuck as a draft. Its a really good iteration process, and soon I plan to release a fully open source design I made which is much better than this one. However, this is the first violin I made and despite the sound being iffy, its by far the prettiest. So here is the post about how I made it. I am also adding notes from today, 5 years later. Since stuff has developed and I am in the process of releasing my own design.
So here is the post:
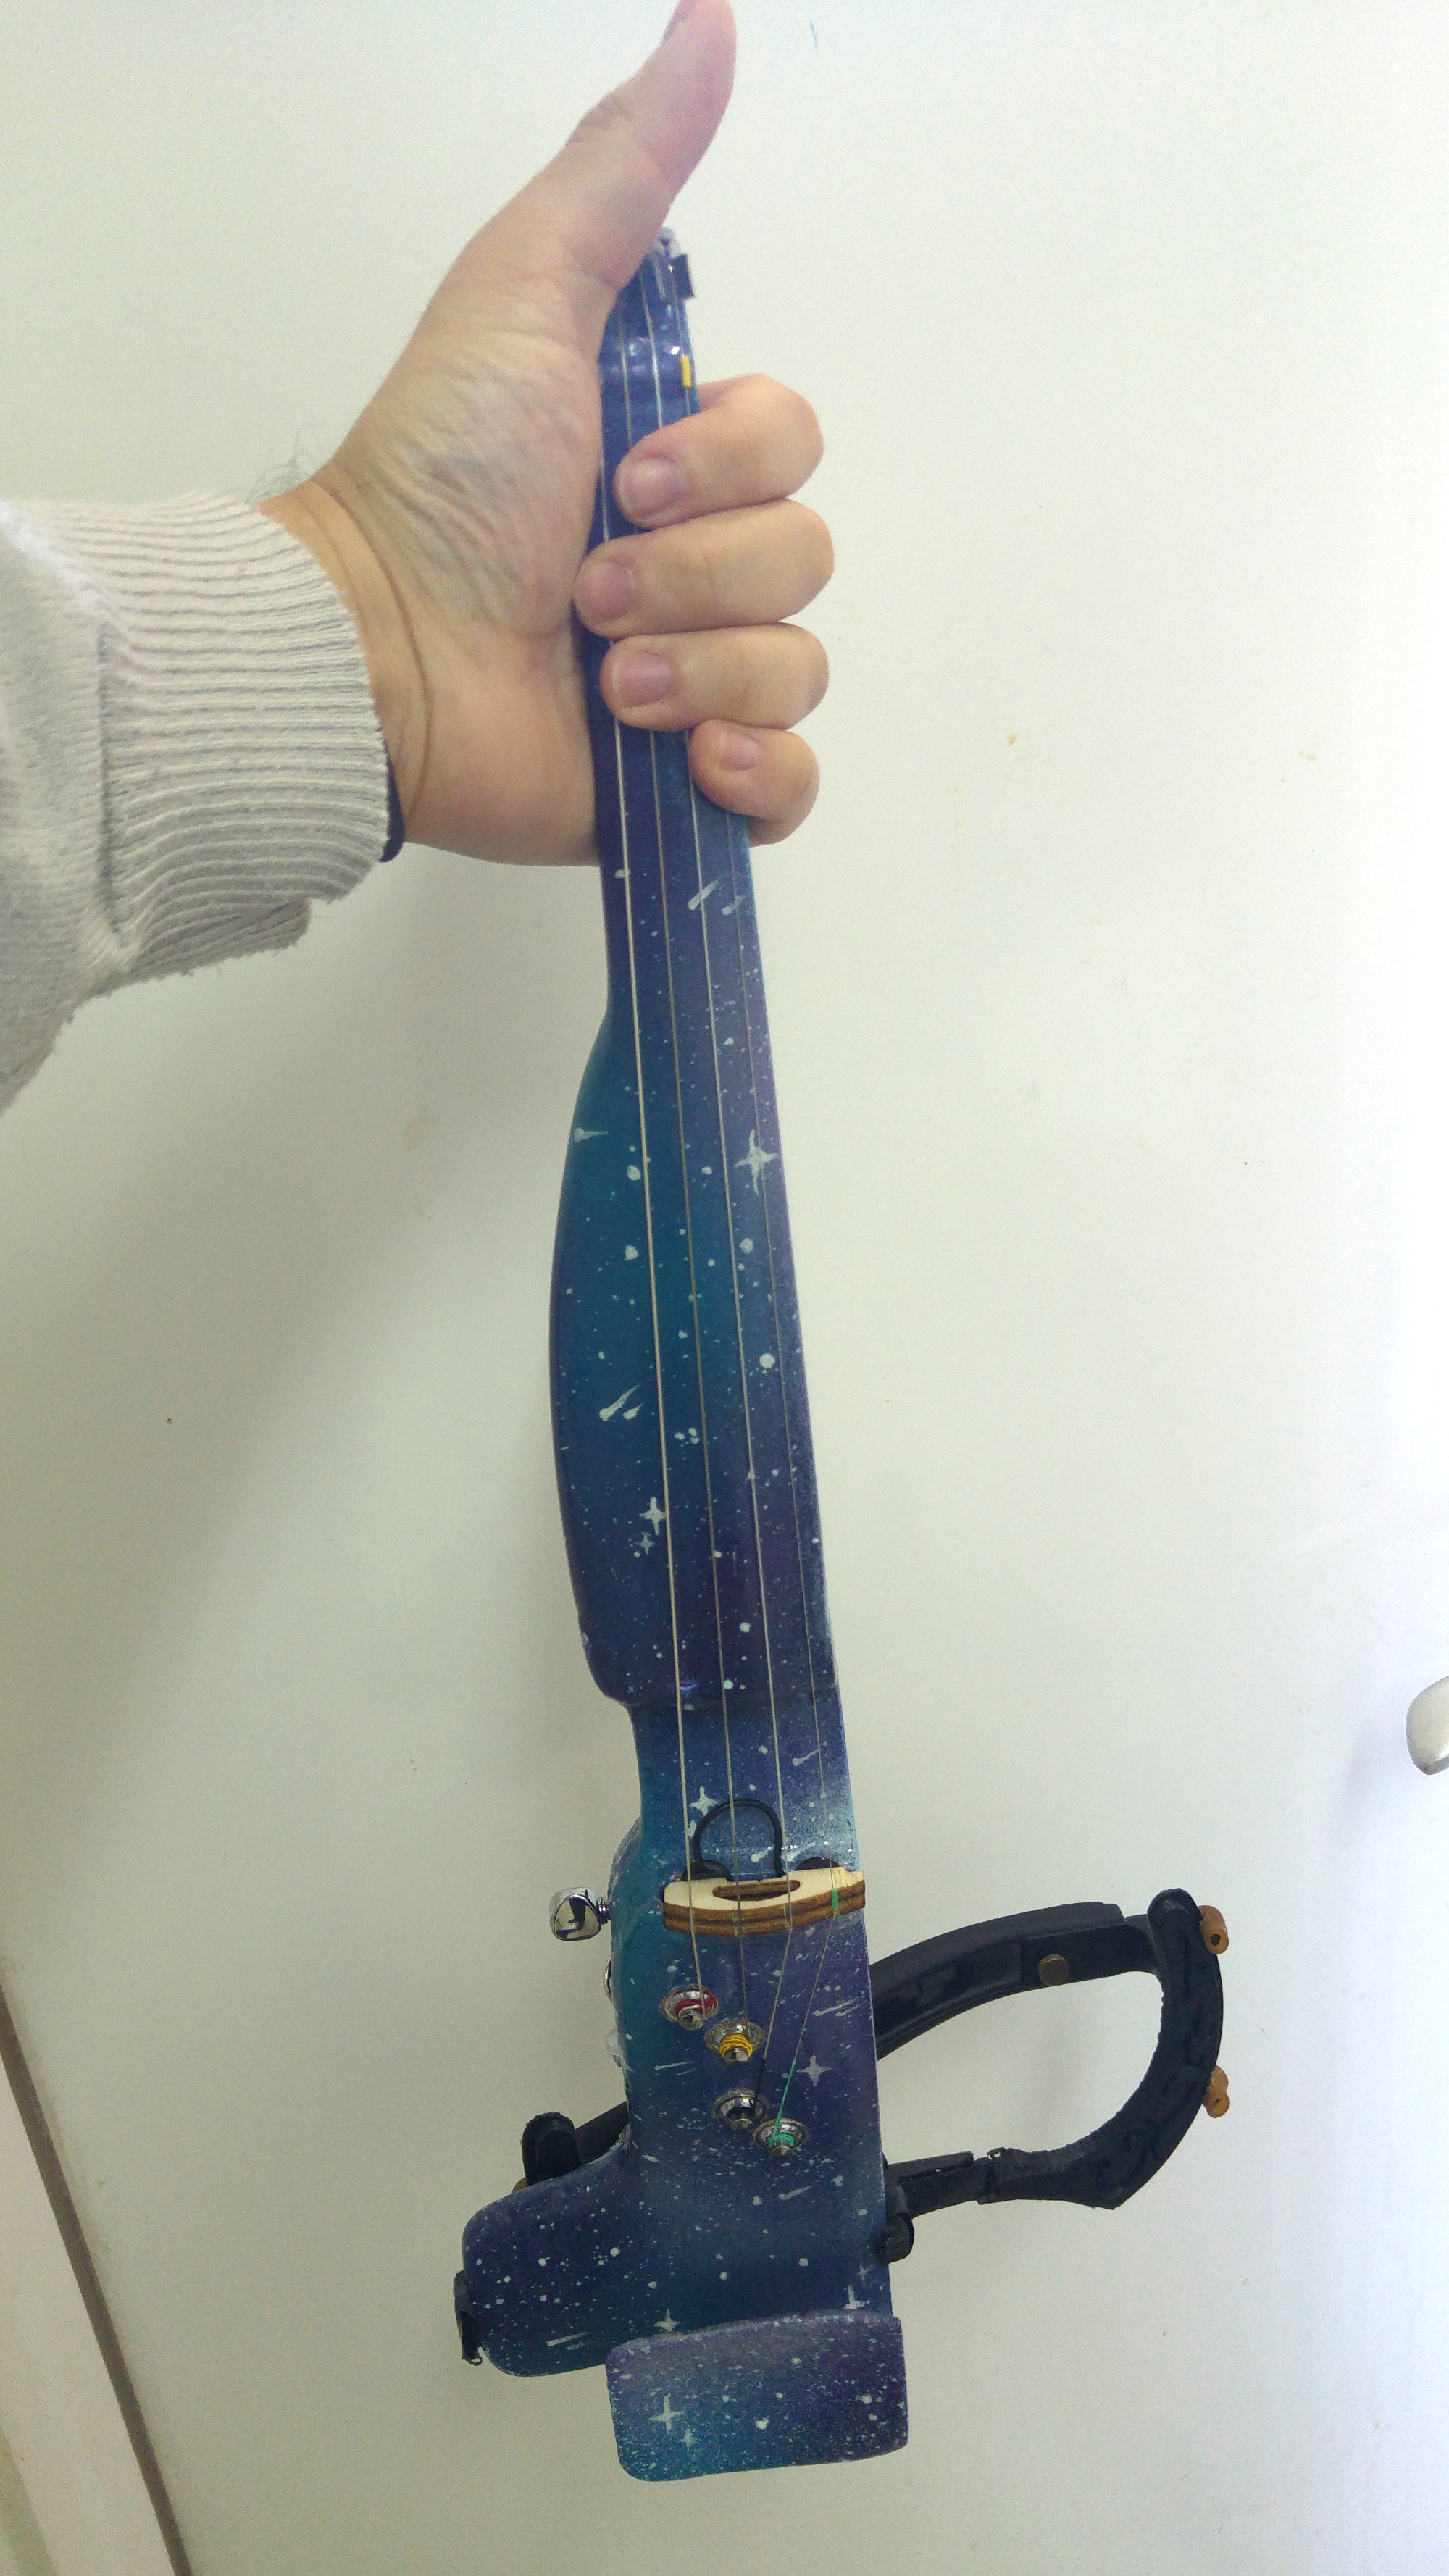
So I 3D printed an electric violin, I wanted to share with you how I did this, what I learned in the process. And perhaps spark a community to share these violins and knowledge how to build them. Arnon Zamir was a partner and we did a mix of research and building together. Dar Abramov did the amazing paint job.
So there is this wonderful project violin designed by David Perry called the F-F-Fiddle. I think the most innovate part is using a carbon fiber rod (originally aluminum) to connect several parts from a 10inch (254mm) and now 8inch (200mm) 3D printer.
The model
David published a pretty comprehensive PDF with the design and assembly instructions. However I wanted to take it a few steps further and do a cool paint job and finish.
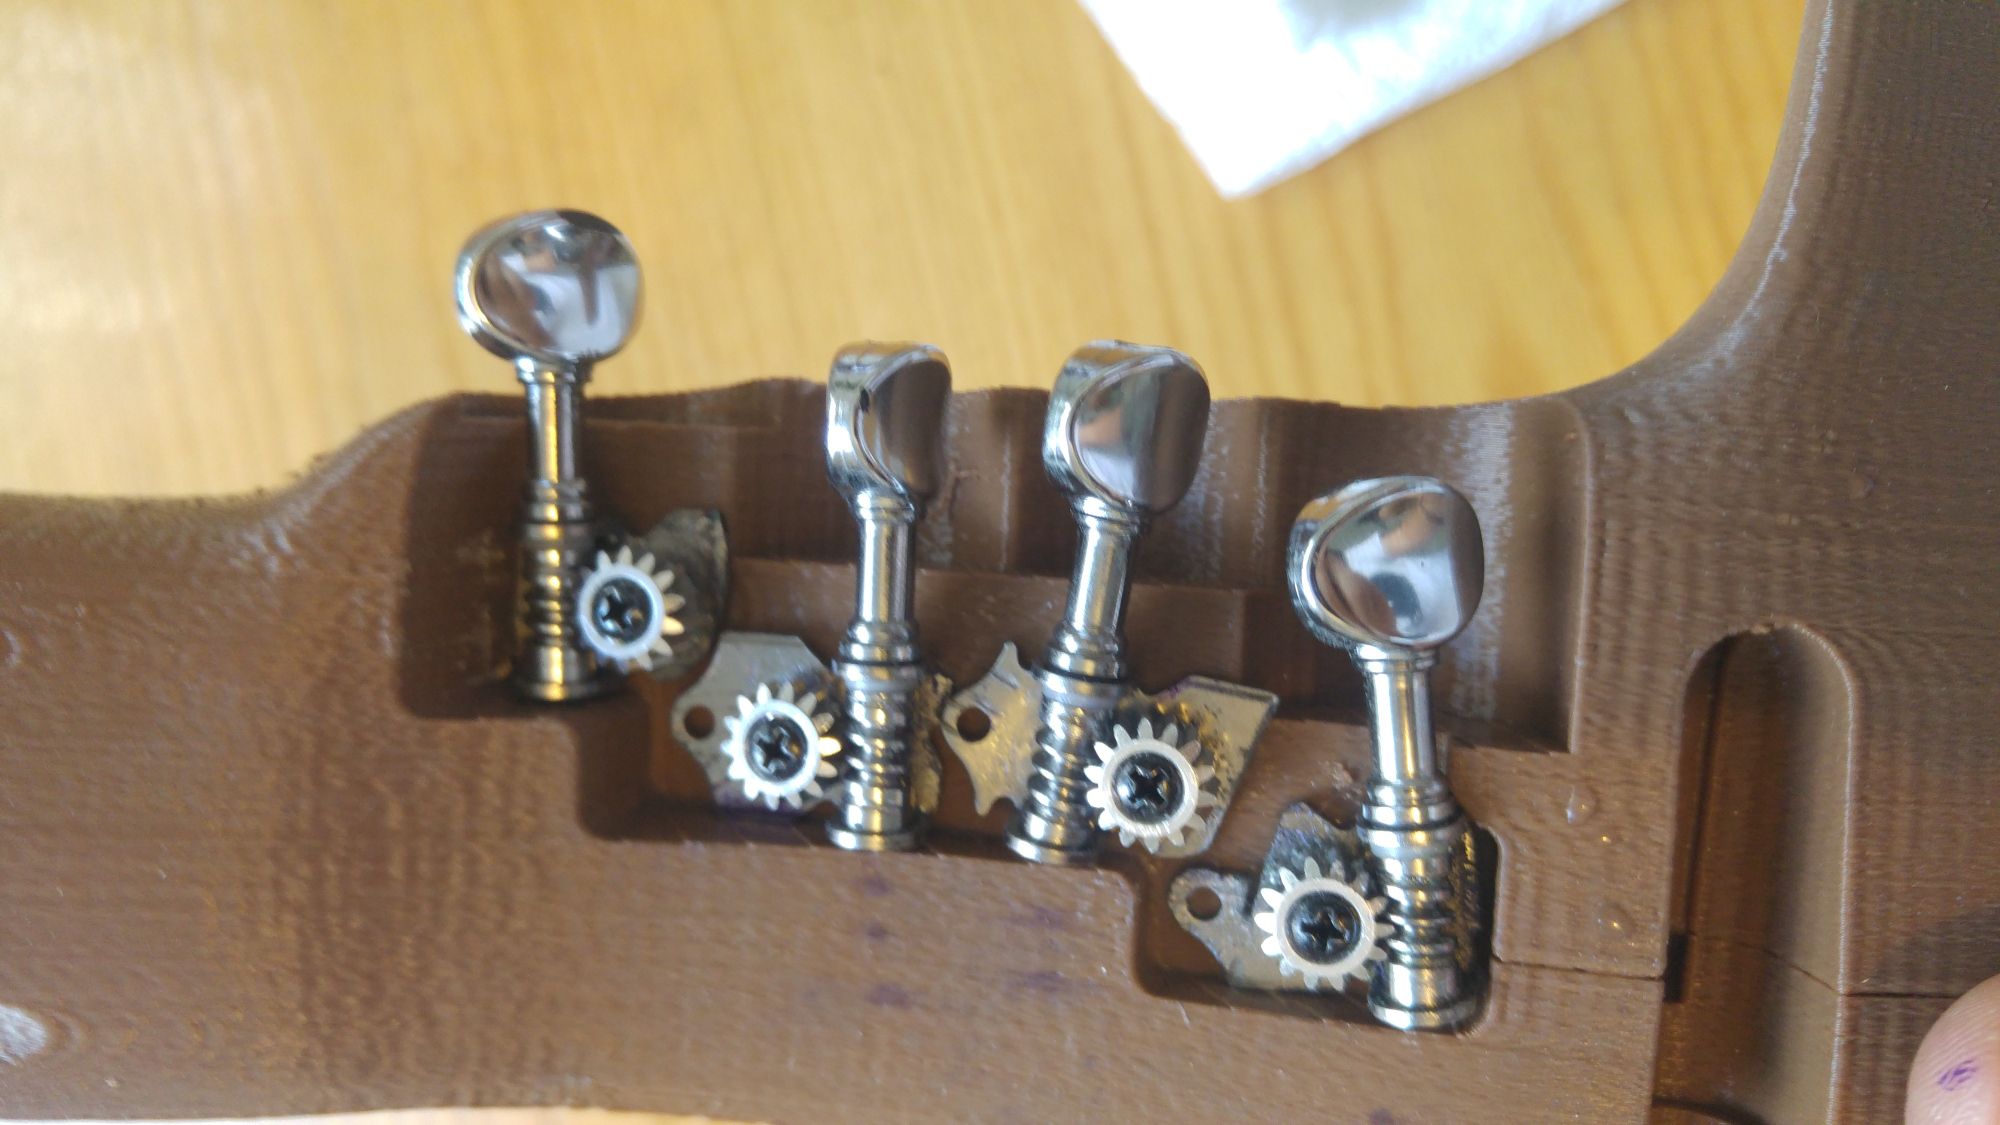
First I used Luke’s bout, it was a bit of the mistake because we actually had to cut the guitar keys so they would fit (and that makes them bend a little). The Guitar keys are at the moment the most annoying thing in the F-F-Fiddle.
We really want to change that.
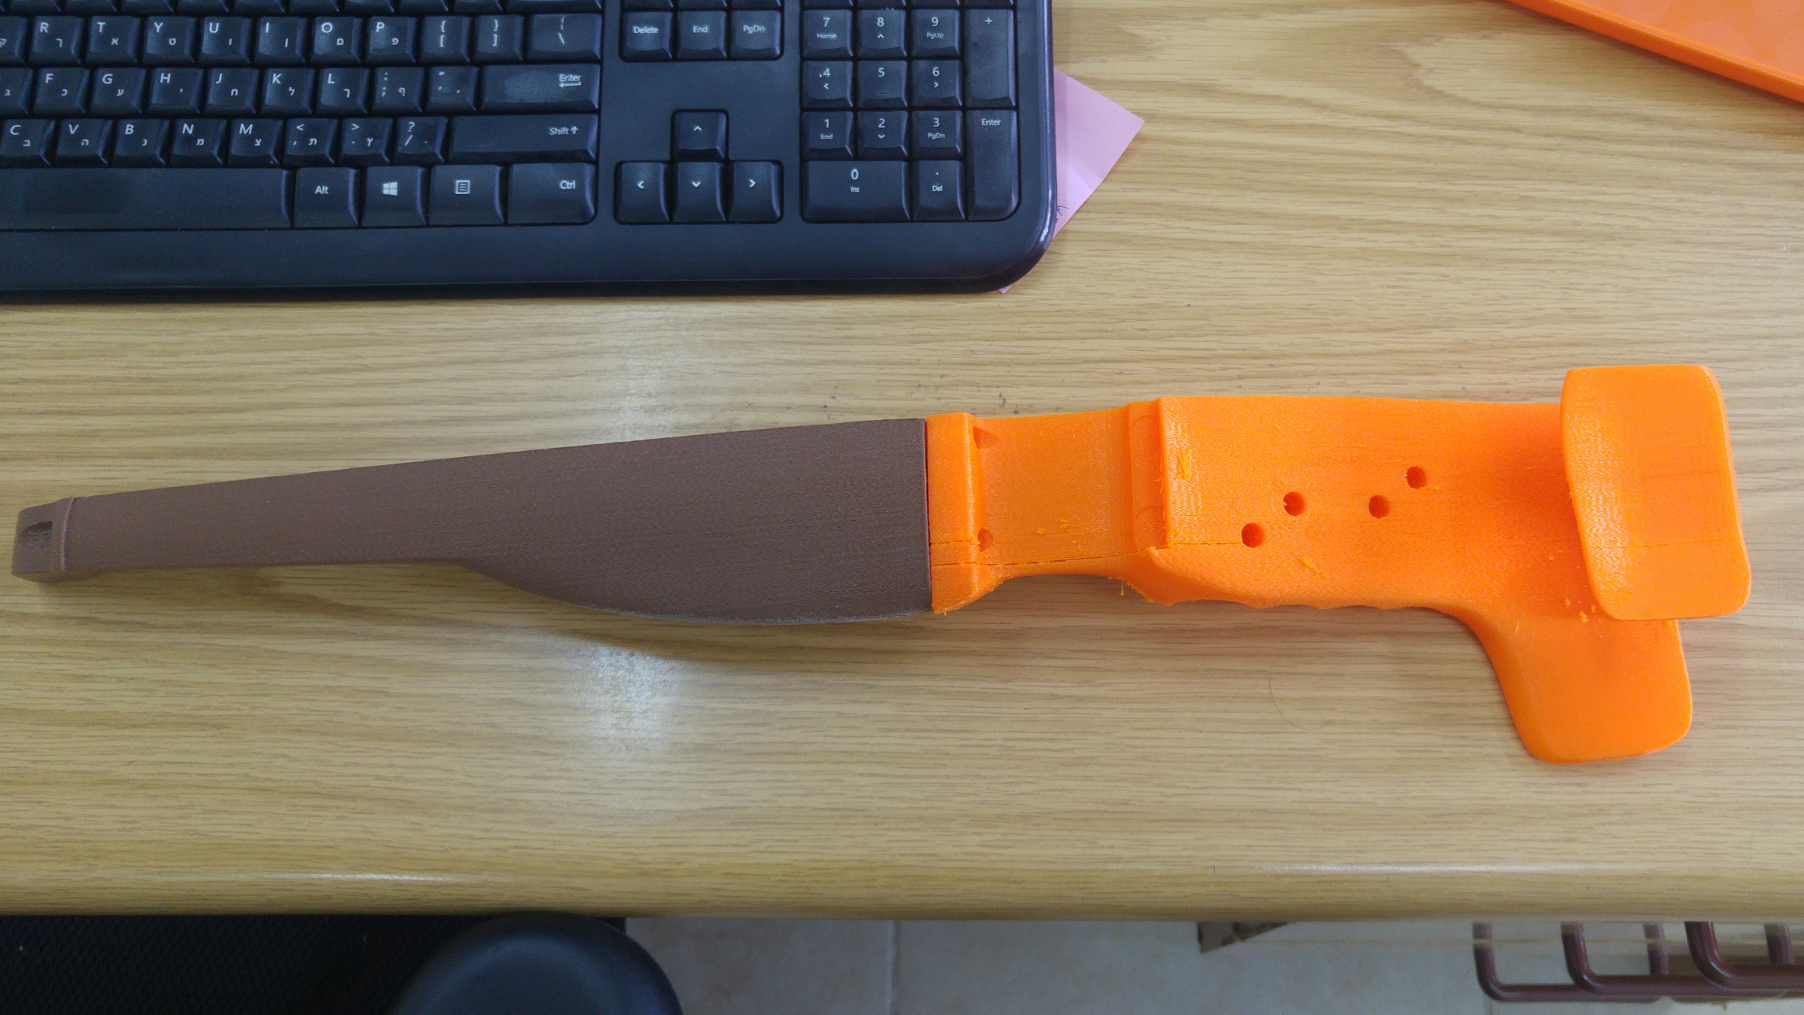
Finishing – this is just the start
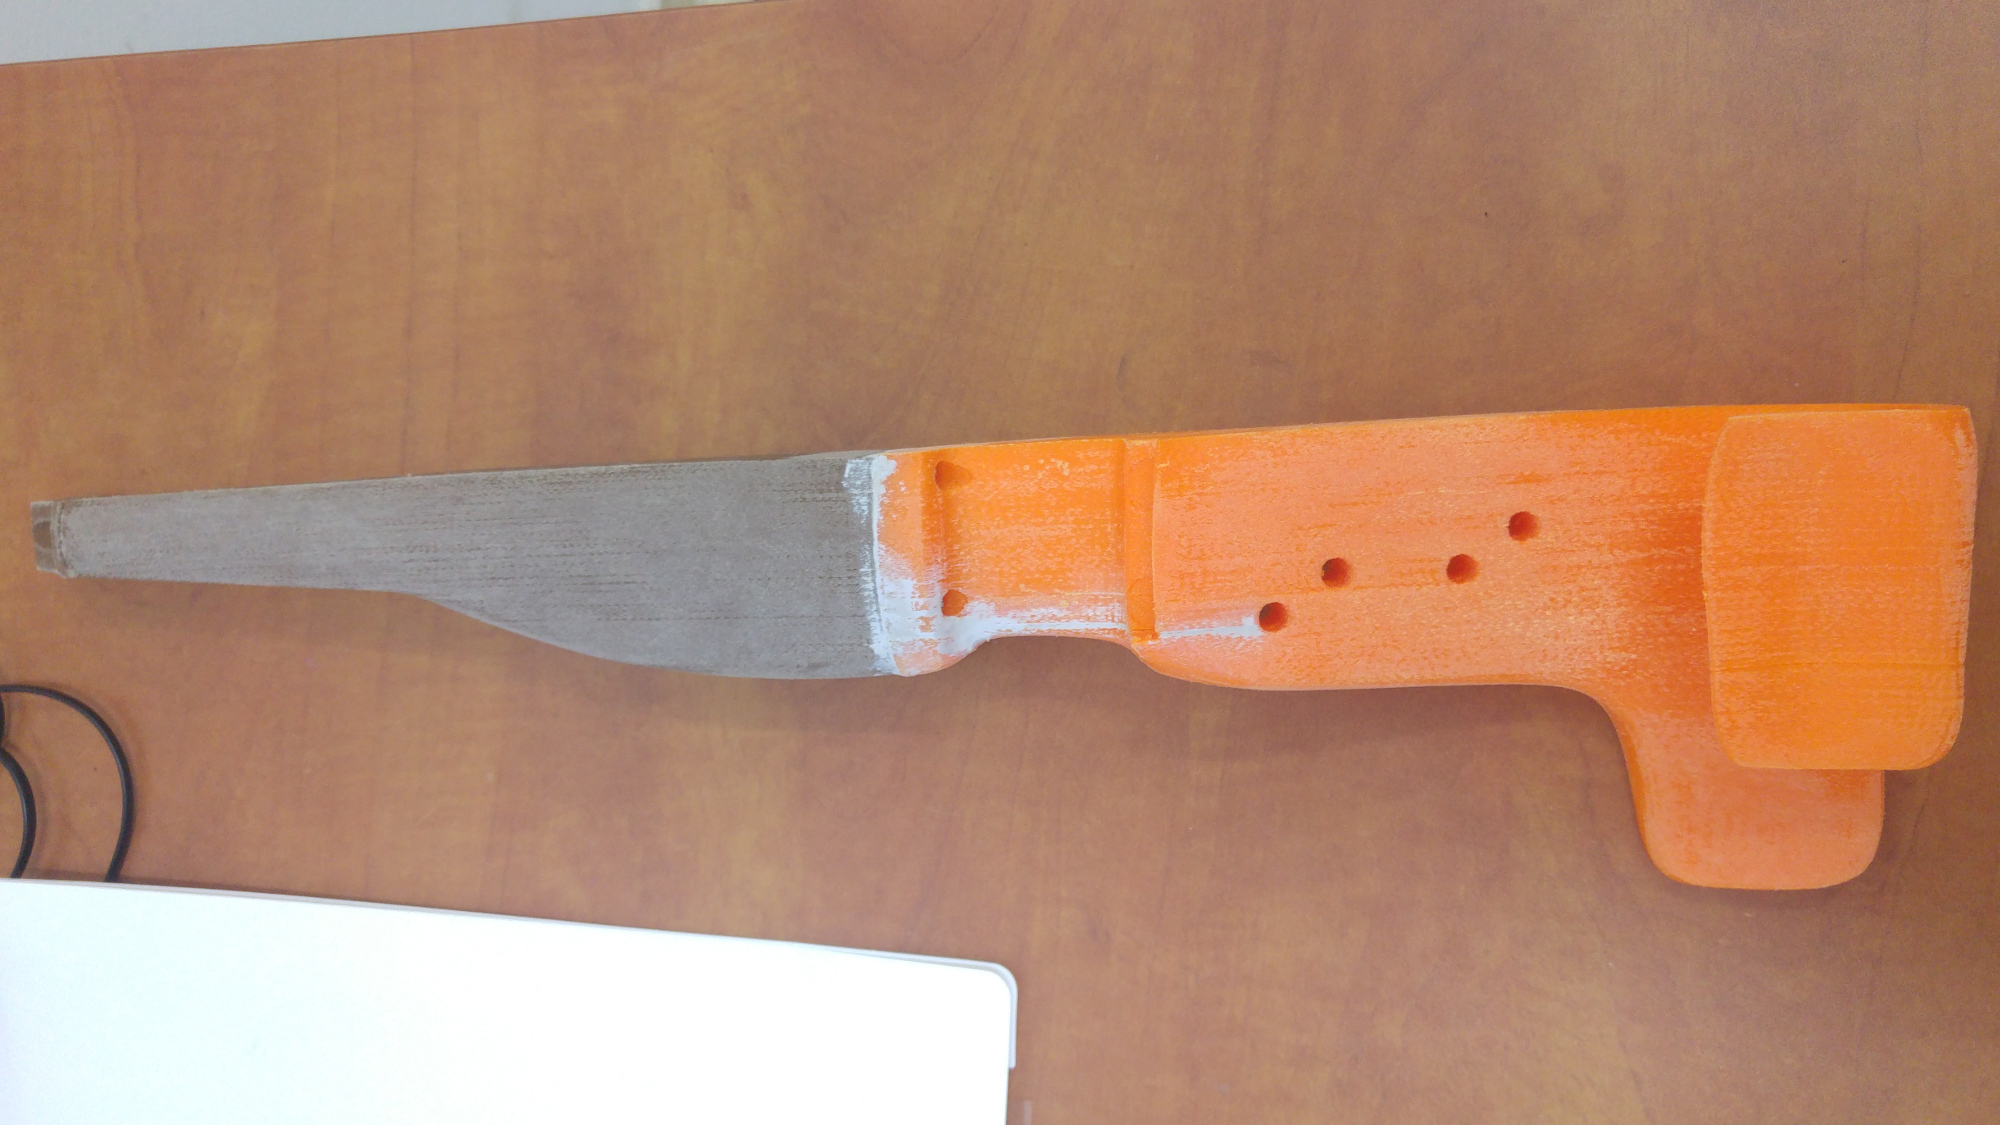
After you get the 3D printed parts, you need to make them look and feel good to actually play on. David reported that sanded violins, especially the fingerboards, are much better to play with. The methods to finish 3D prints have progressed a lot, but I found the best results here were using a primer, and then sanding the print. The primer gets in between the layers and fills them up. In combination with sanding (both with a random orbital sander and by hand with sand paper and a filer, I got a really smooth finish.
For fixing defects in the print I used plastic epoxy putty (make sure its plastic epoxy putty and not metal). The epoxy putty is really easy to sand, it even says so on the cover. It means your printer does not have to be crazy perfect. But you do need more sanding.
For final coating we used epoxy. Arnon had lots of experience with it building boats. I found its a little too soft for the violin, but I can’t find anything better.
After the coating there was more sanding, if you start to see the edge of the print, this means you are doing well and the gaps of the print are filled.
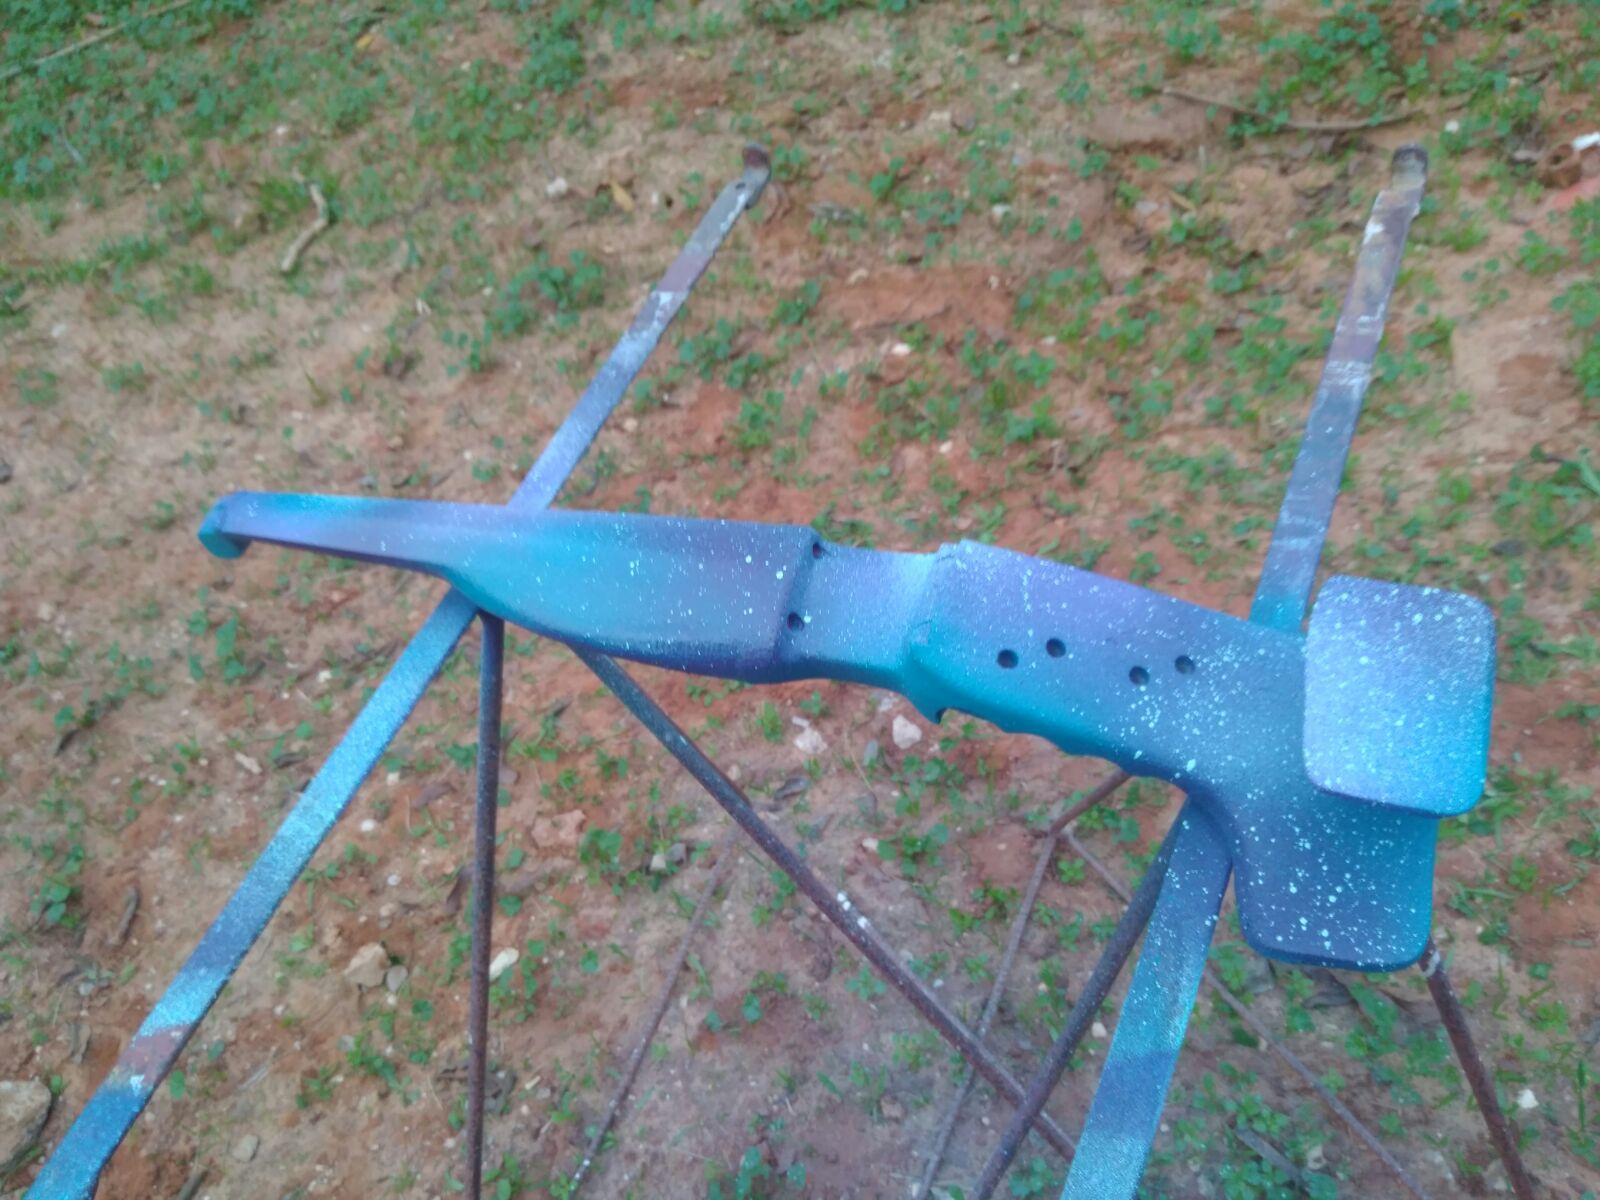
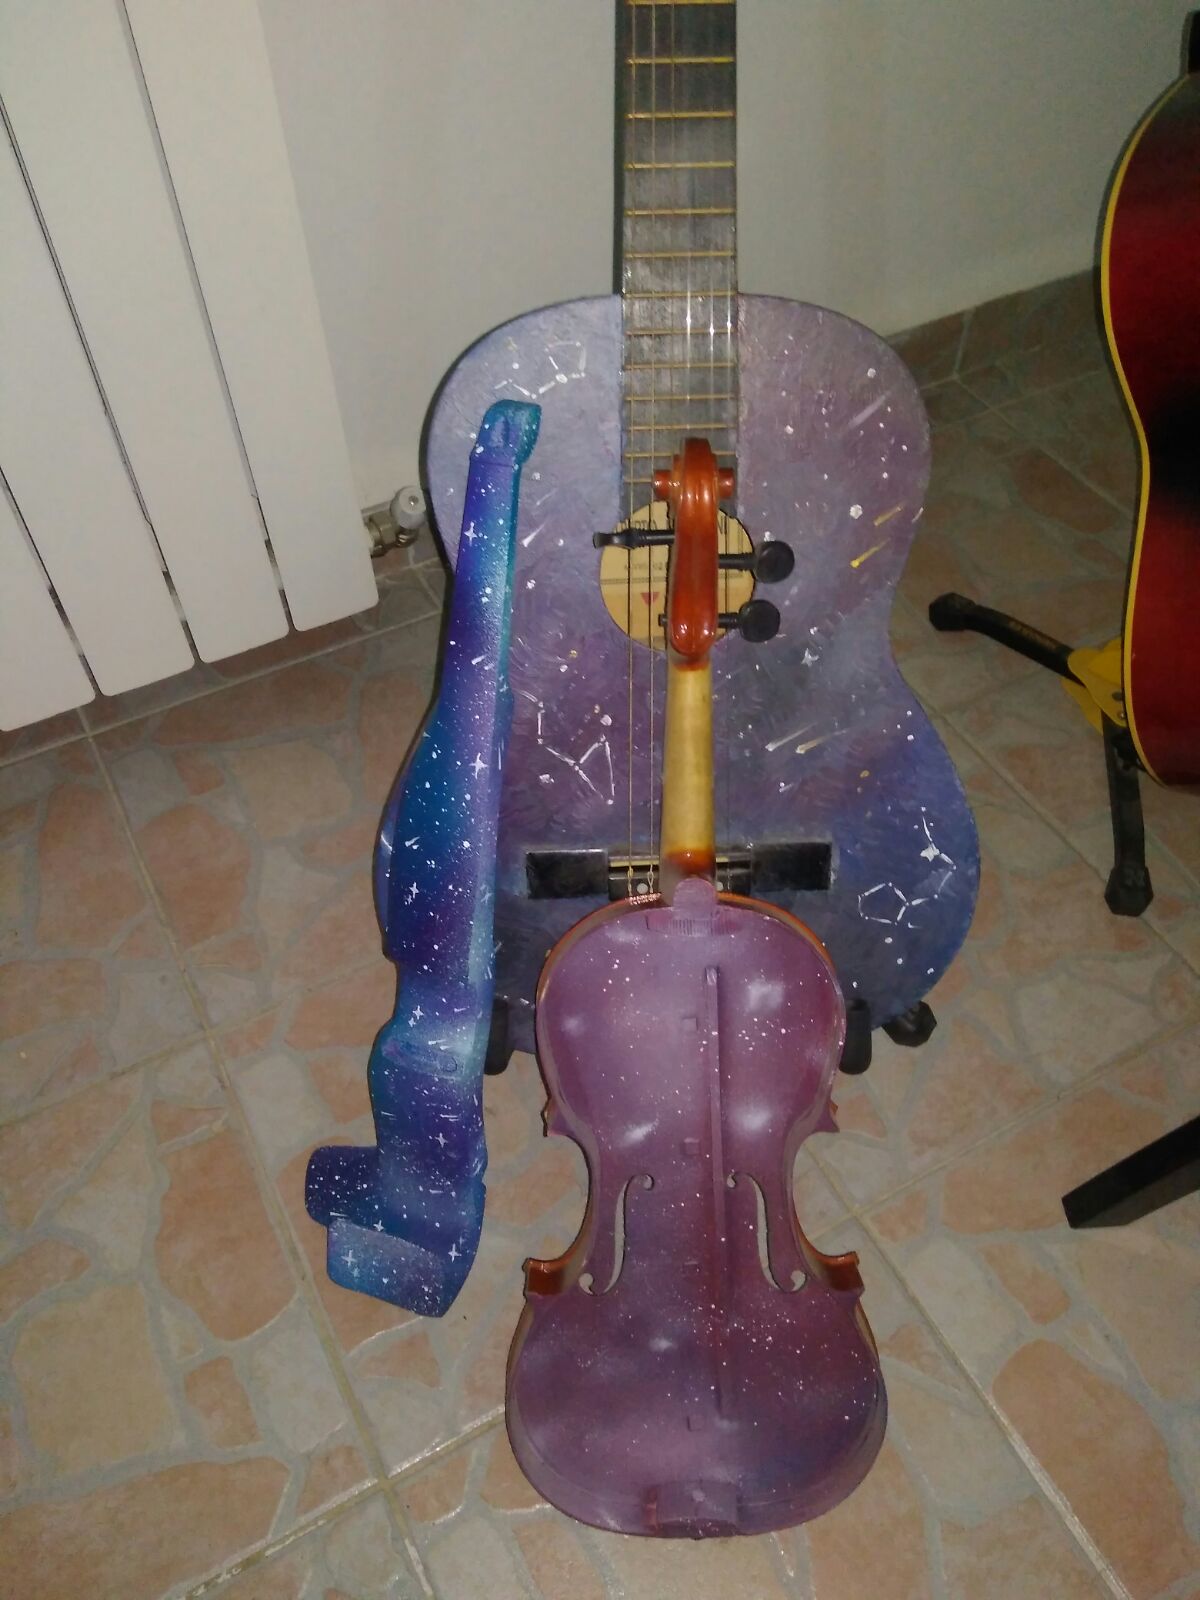
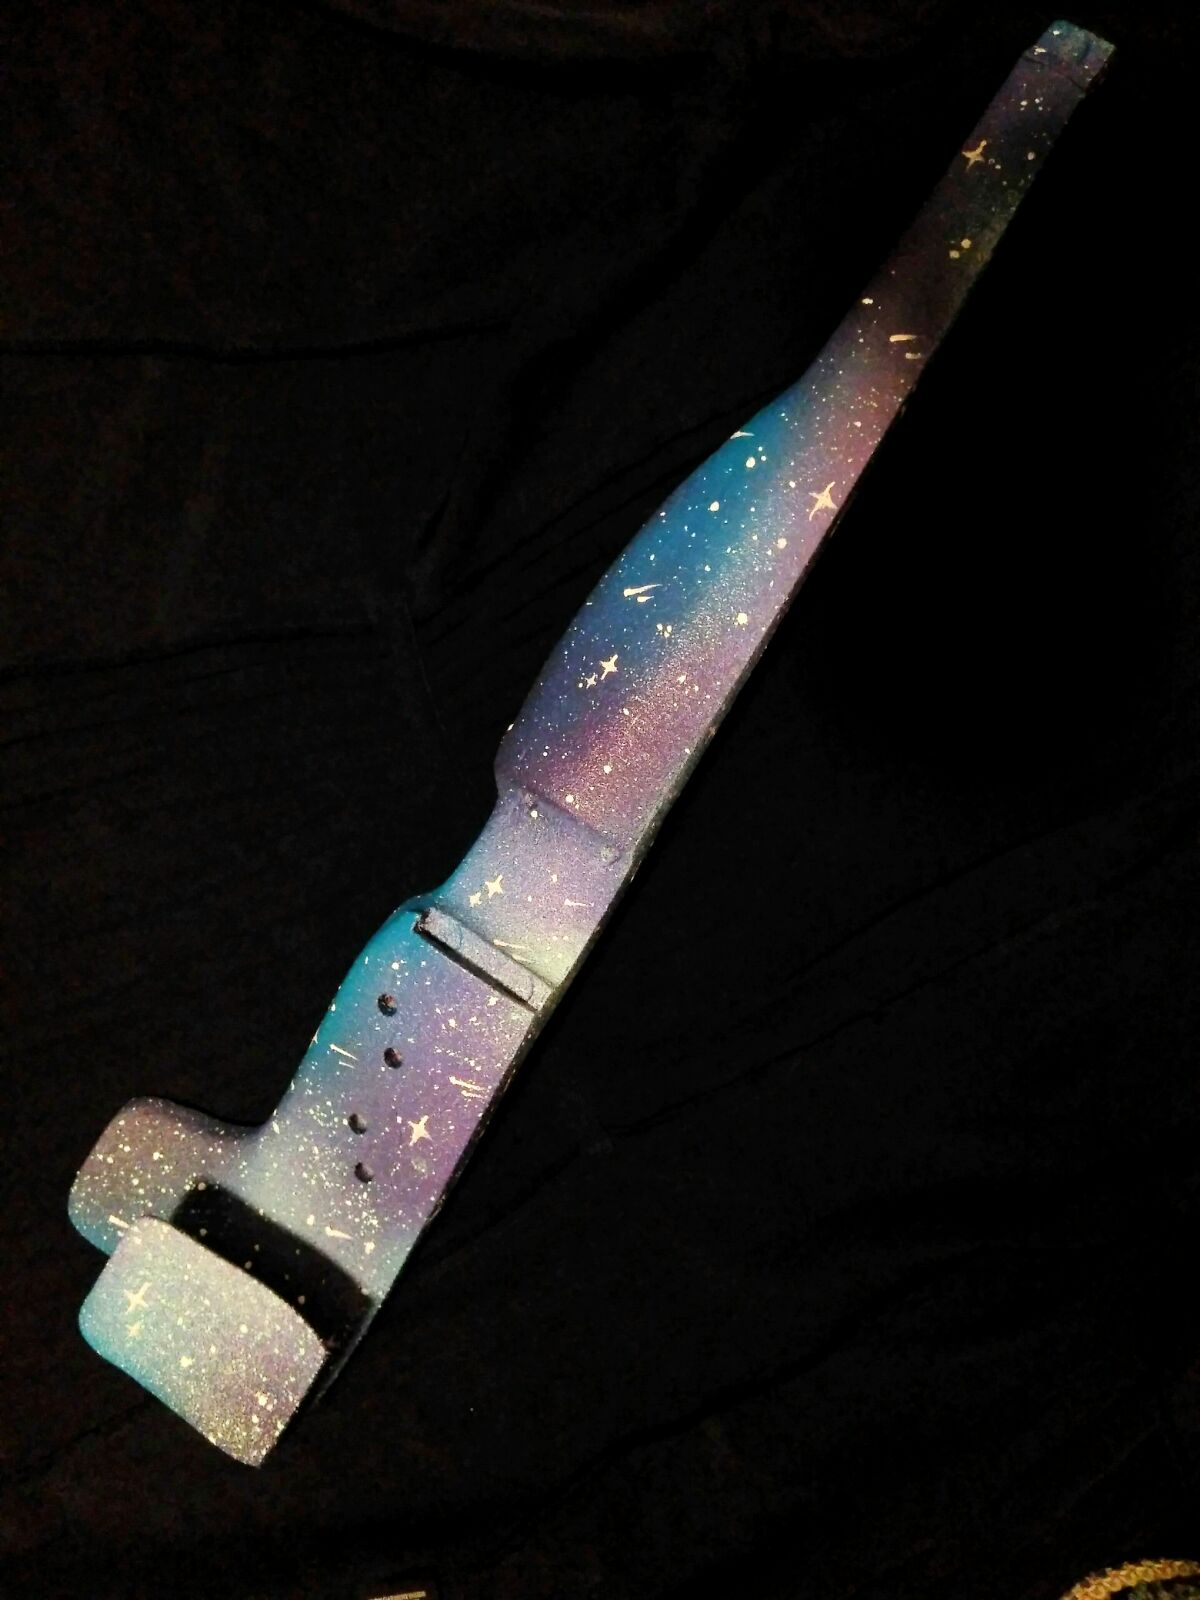
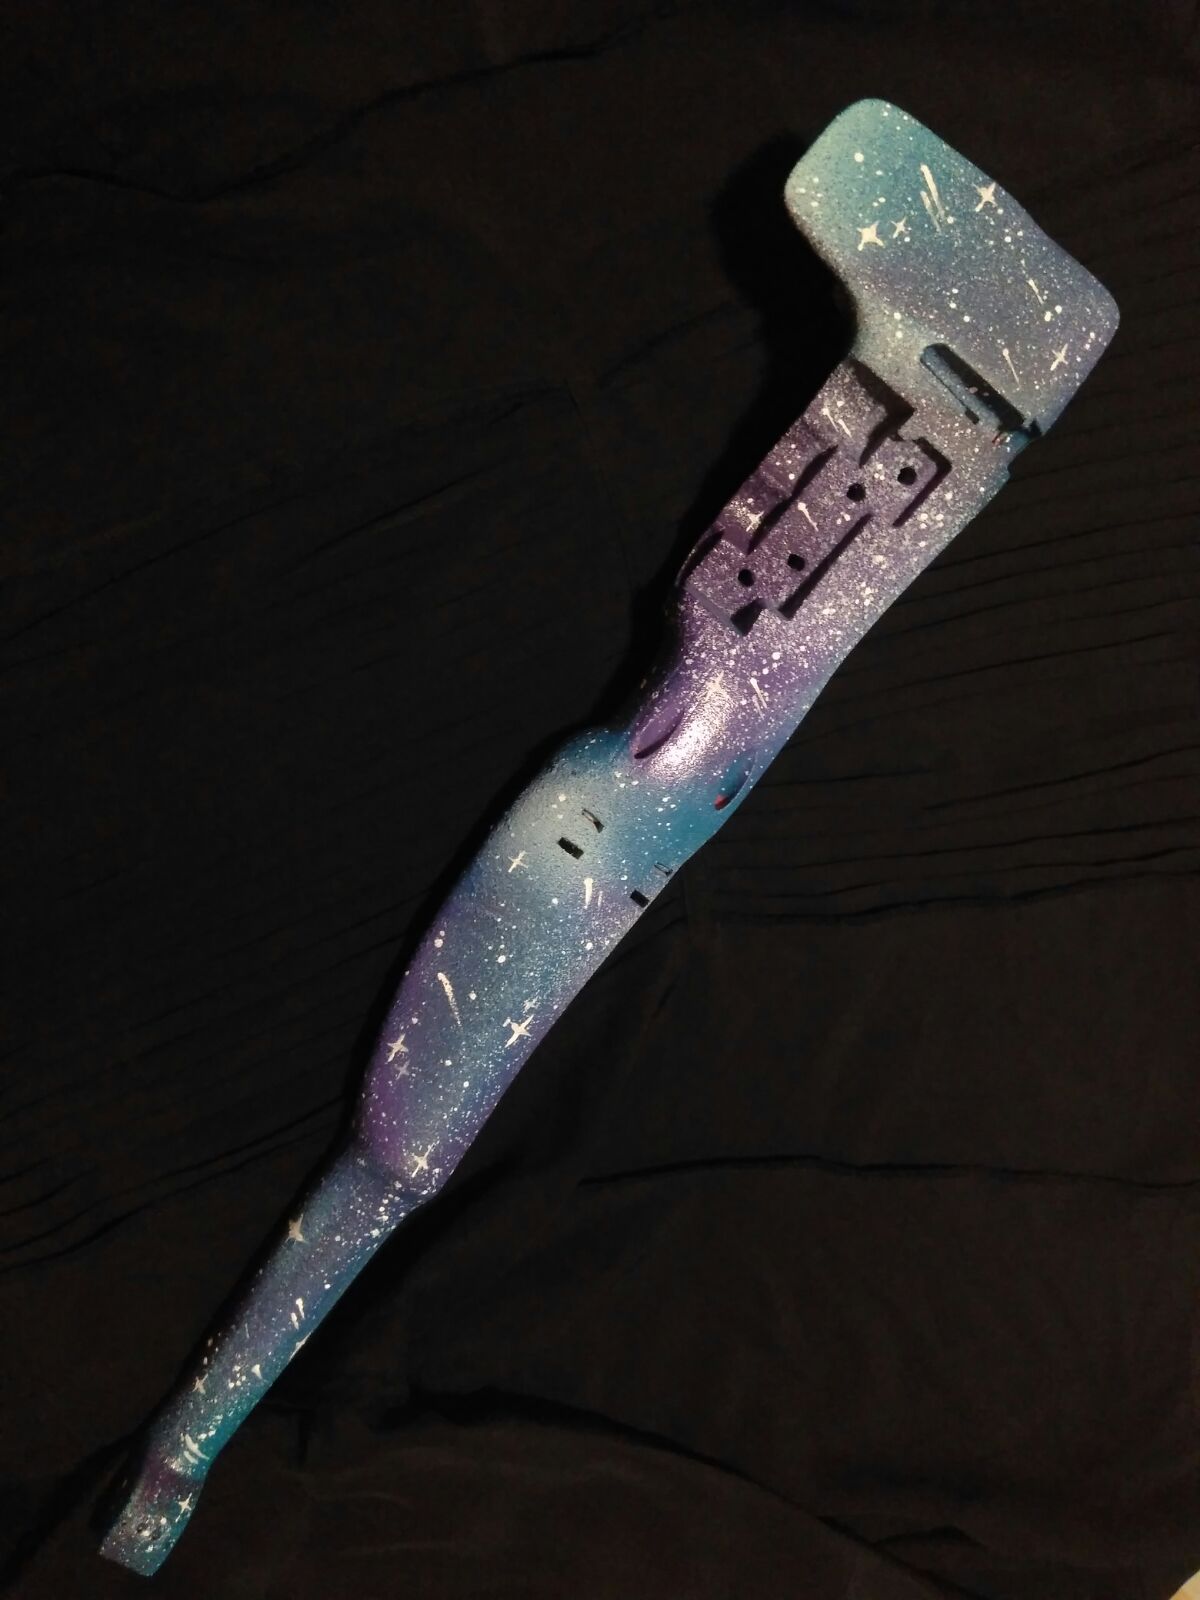
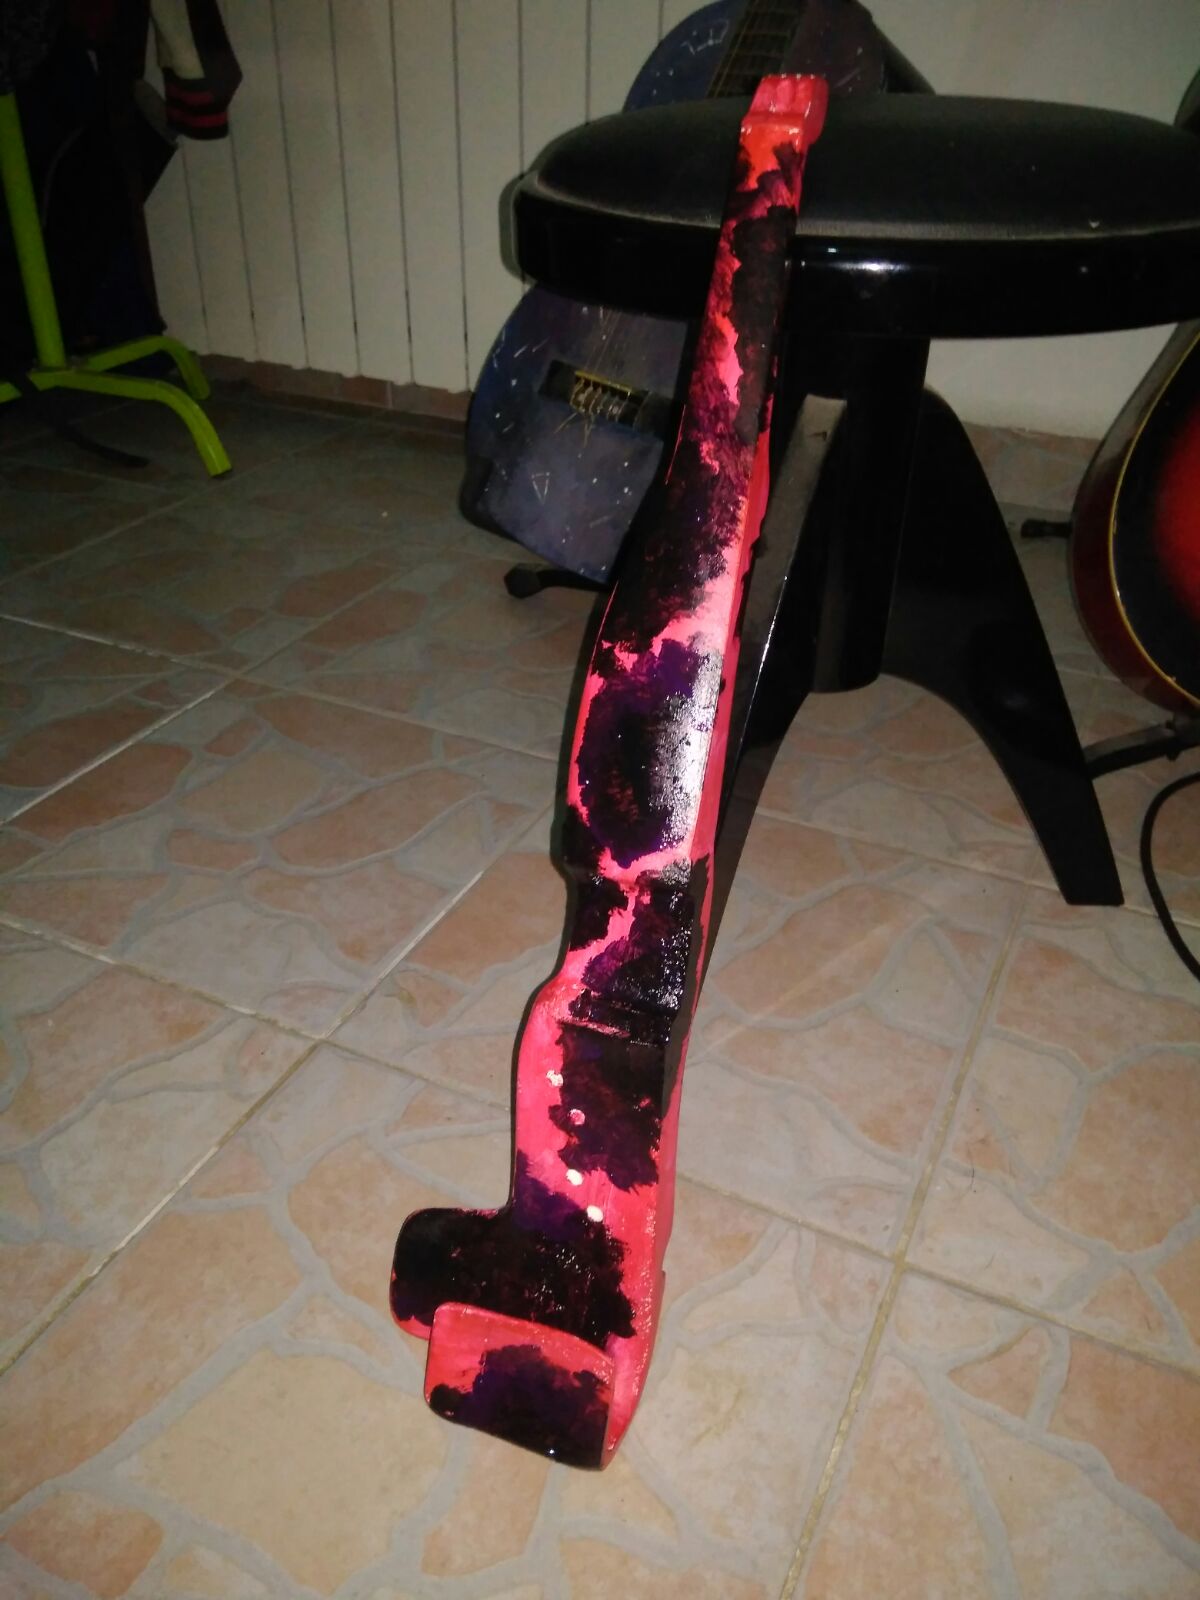
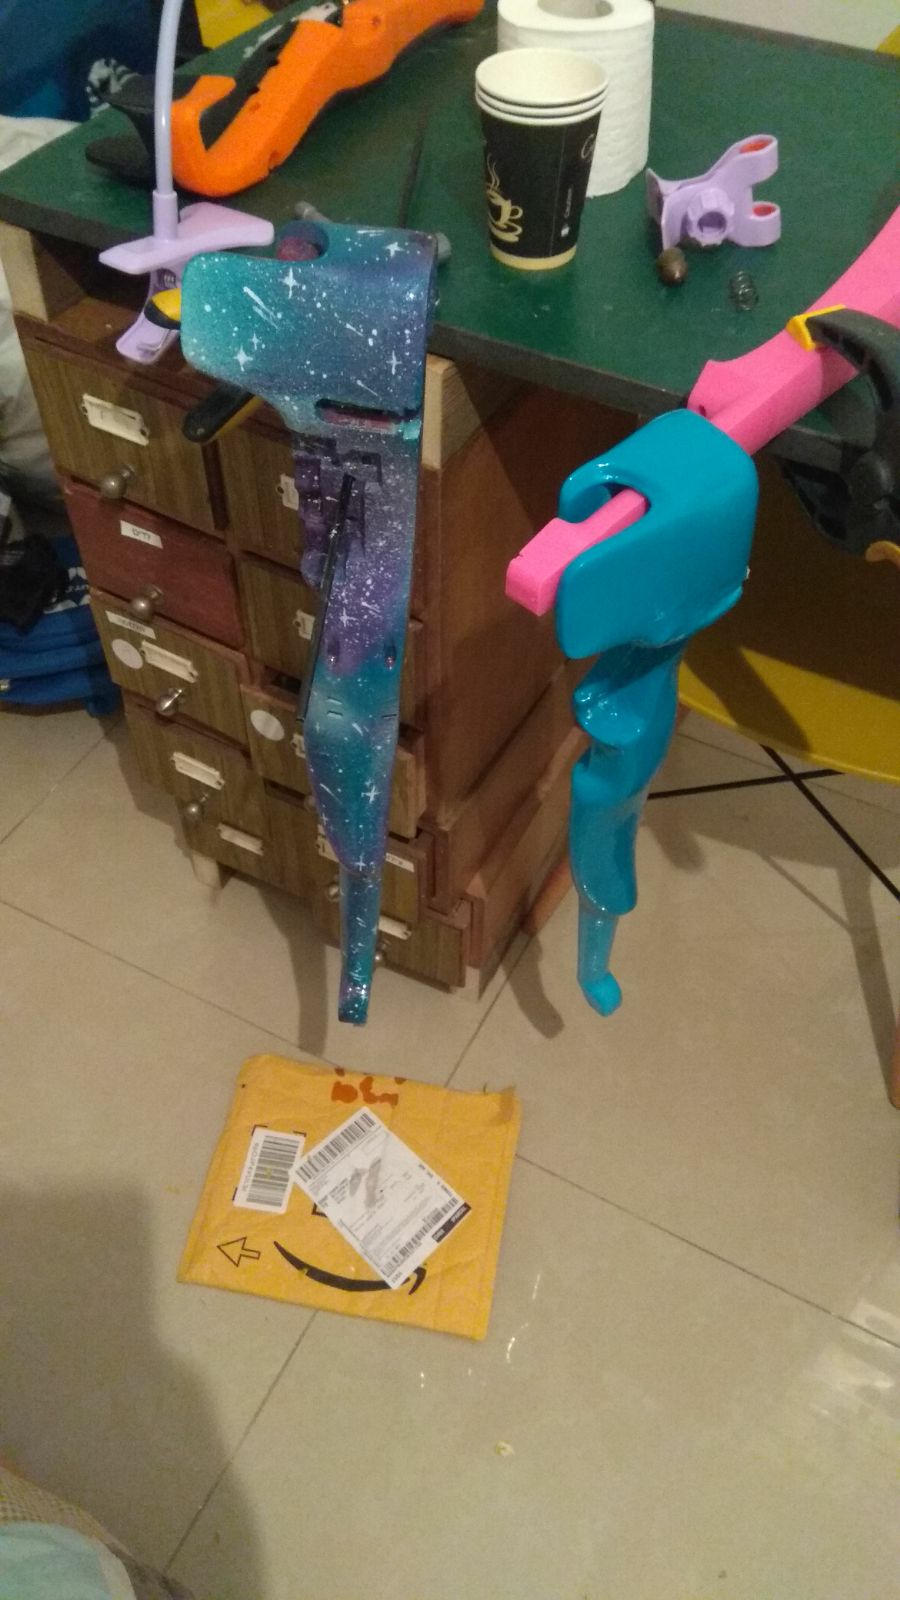
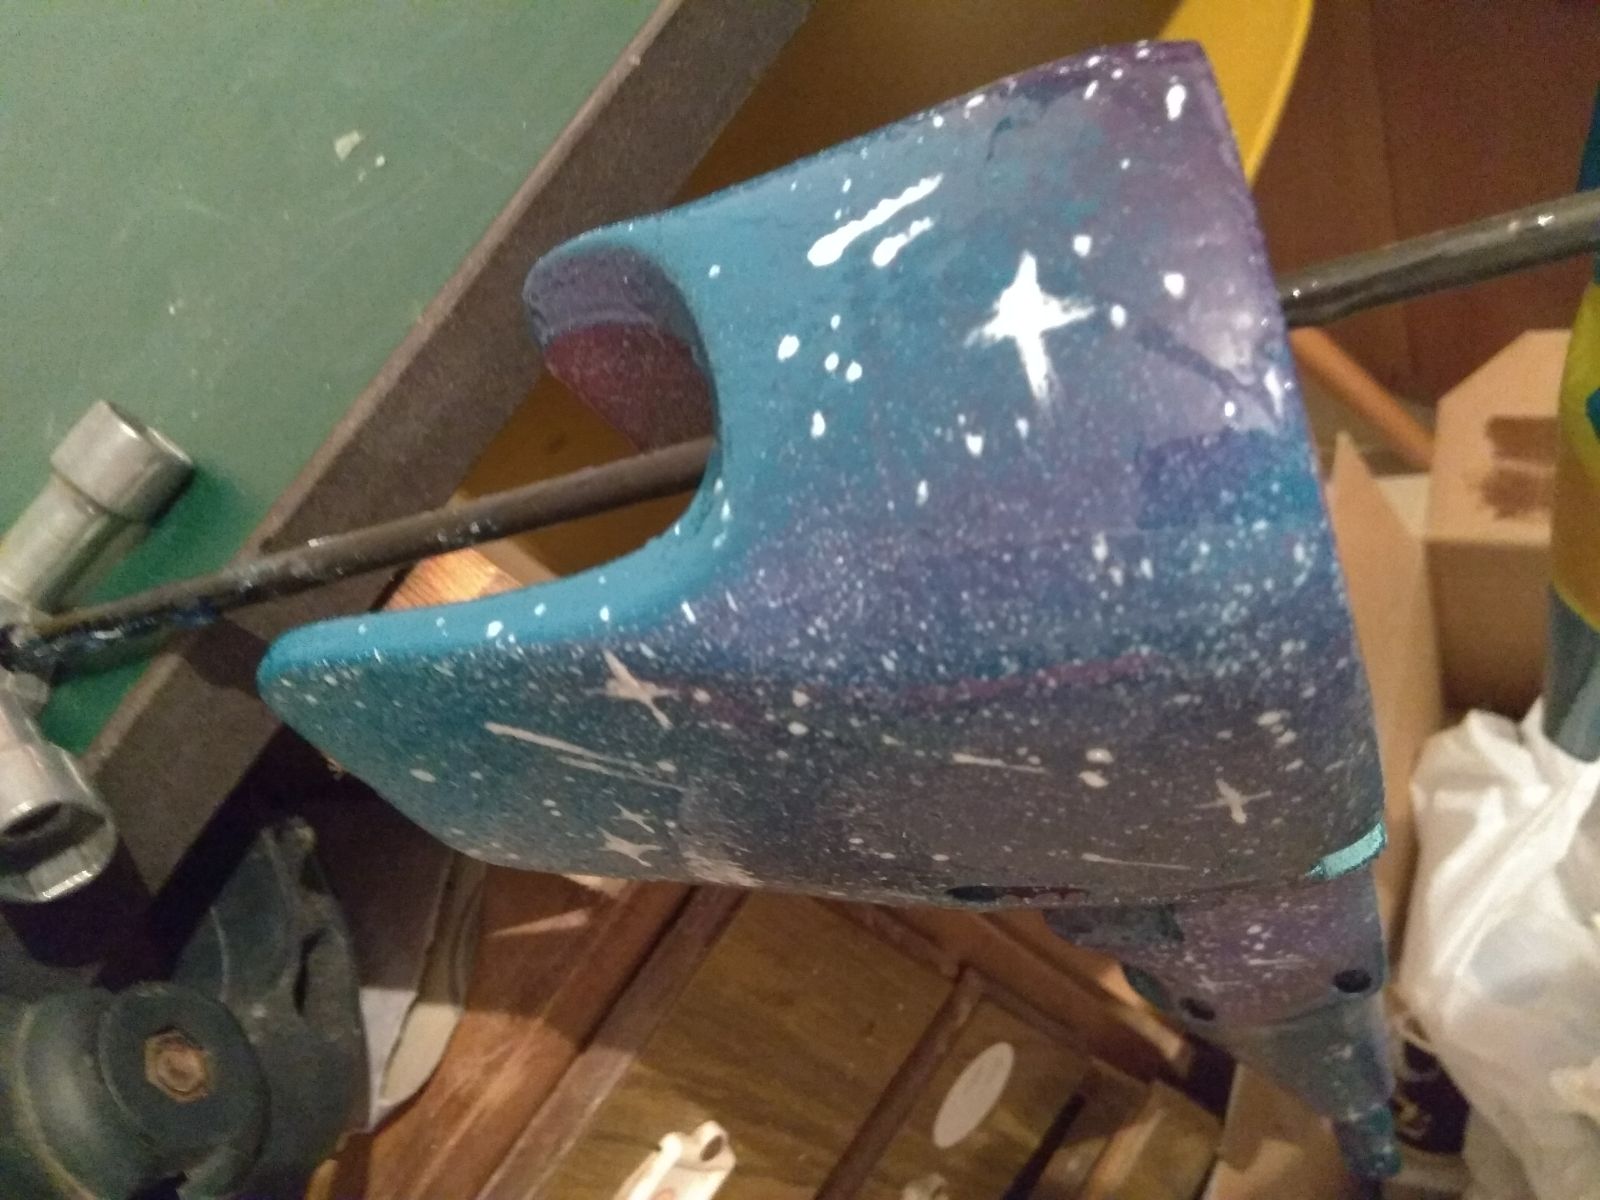
Pain job
The paint job we done by Dar Abramov using x2 primers and some paint, its amazing
Here are some photos of the process

Epoxy coating
Here are some pictures of the epoxy coating process. Arnon did a lot of lays.
Pickups
Note – Today I am using Oleg’s magnetic pickup, and the pickups below I have not tested really.
I just used a K&K Sound Systems Twin Spot Internal as explained in the F-F-Fiddle manual, the bridge is CNCed from random wood which was probably a bad choice. I am in the process if trying to find a magnetic pickup to try that out. Most sites that talk about magnetic pickups for violins are from the early 2000’s and its hard to understand how to get one. “Notes on Amplified Fiddles” (it dies and might only work on archive.org) has interesting insights. It looks like everyone is using Barbera Transducers pickups which are piezo-based, but are hard to get, or Starfish violin pickups which are easier to get but not as good (according to people who tried both, I don’t have them to try).
Keys
Luke’s bout design requires you to cut the keys to fit, so we had to cut some metal. I really want to make a new violin design which would not require that. Will note that tuning a violin with guitar tuners is much more comfortable than the traditional acoustic method. Bundled with the tail tuners tuning would be amazing.
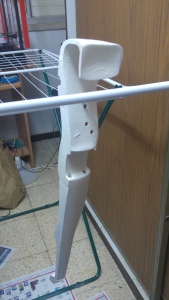
Adapting the shoulder rest
So the F-F-Fiddle isn’t too comfortable on its own and there were several attempts to make a shoulder rest for it. I made an adapter for acoustic violins shoulder rests that works best.
What’s next? Effects!
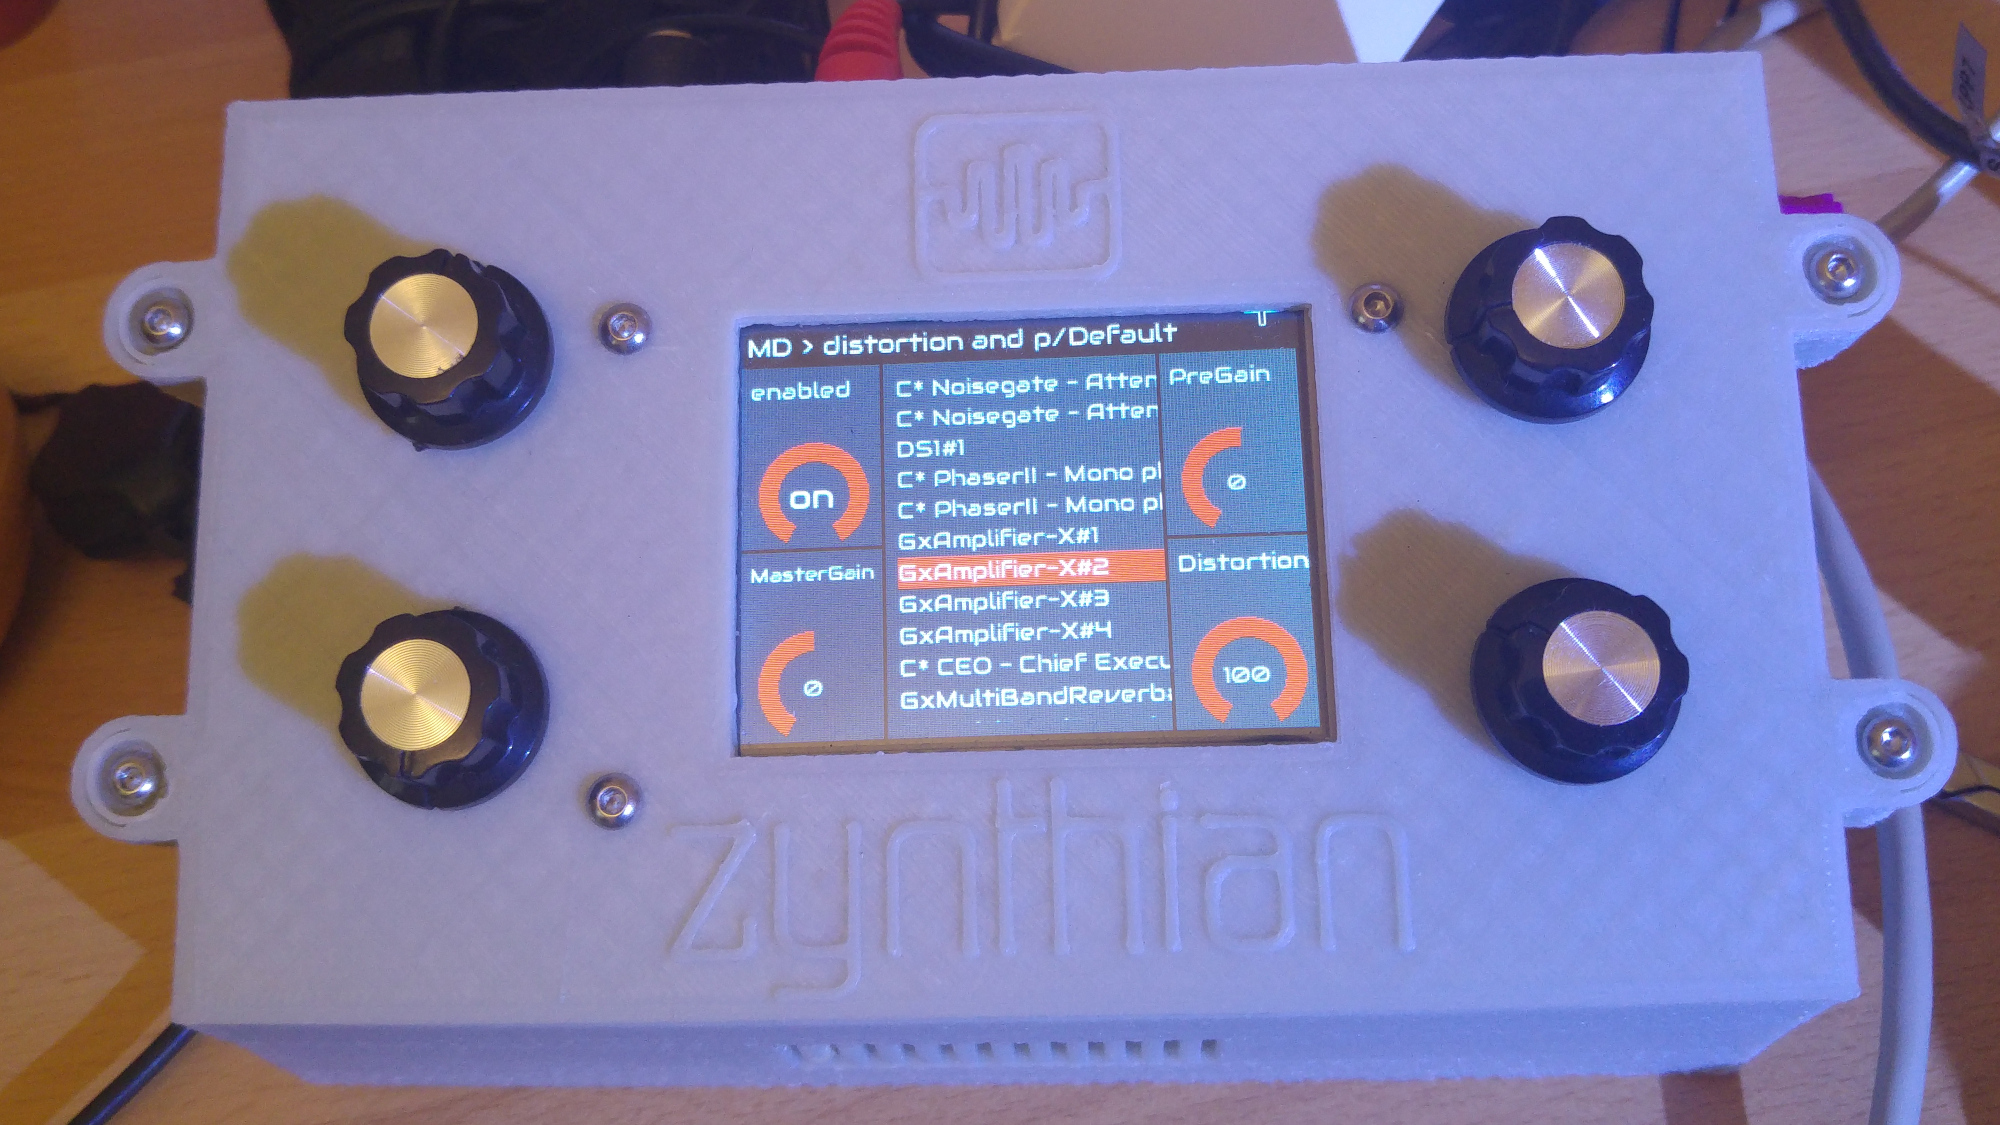
Note: today Zynthian are a live and kicking with a newer device and have adopted CustomPiOS
I’ve started playing about with the Zynthian project. I will write about that hopefully in a later post, but in short Zynthian lets you use a Raspberry Pi, I am helping the Zynthian team get a build using CustomiOS.
Violins are a crossroad – Lets build a community!
Note: If you wanna start today, join the discord, its active now.
Violins are a really conservative community. When telling violists what I am doing, nearly all don’t really understand. Many won’t even consider changing things. Even the most cutting edge ones make the electric violins sound like acoustic ones. If the guitarists community would have acted the same we would have missed a whole lot of music in the last century.
3D printing makes e-violin building much more accessible because violins are limited to 400gr not be too heavy. And I hear from several electric violin players that the weight is a problem in this field. This is easily done with 3D printing.
Note: so F-F-Fiddle google forum has also a pretty active Discord, and the community there is really active!
At the time I set up
Thanks to F-F-Fiddle google forum. Its mostly David there, but its useful to search sometimes

Comments»
No comments yet — be the first.